
How to Recreate Separate Hole Patterns Lost in Repairs
It is a method to add a P-con pattern later.
Materials to prepare


 Water
Water
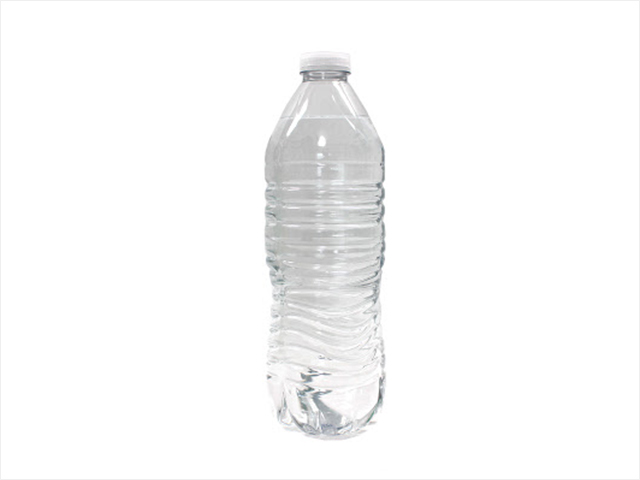
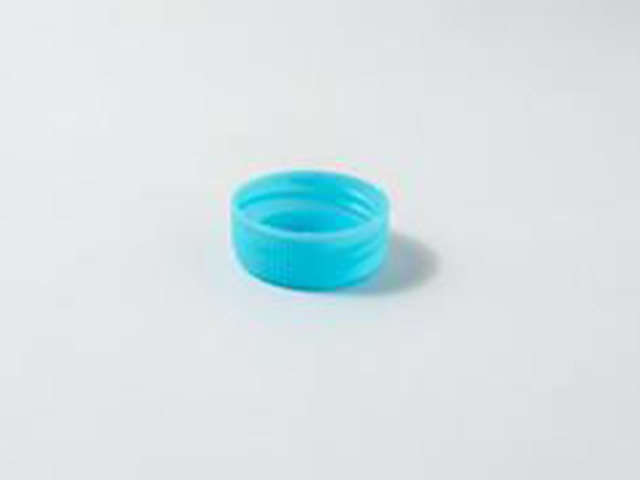 P-con holder (PET bottle cap)
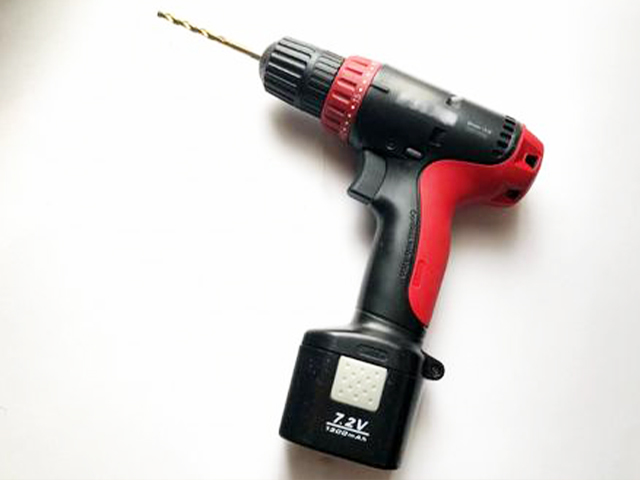 Drill (P size)
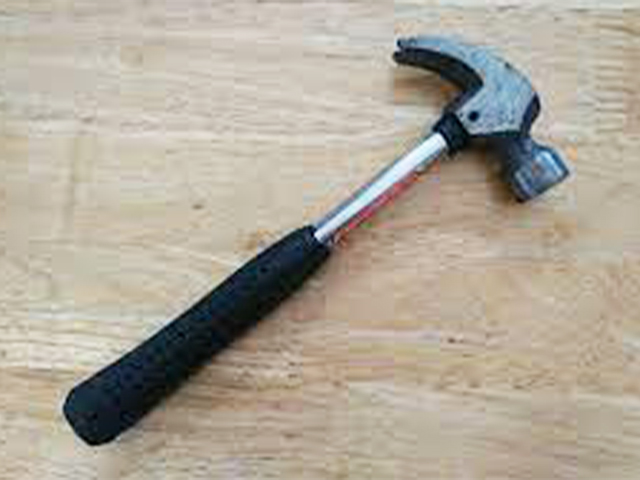 Hammer
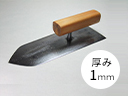 Trowel(thickness 1~2mm)
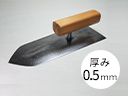 Trowel(thickness 0.5mm)
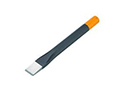 Tagane
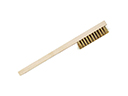 Brush
Brush
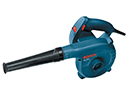 Electric blower
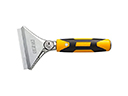 Scraper
How to use
① Determine the position of the P-con.
(2) Prepare a drill that matches the size of the P-con.
At first, turn it slowly to scratch it, gradually increase the rotation, and dig about 10 mm.
③ Drop the remaining part in the center with a chisel.
④ After dropping, remove the dust with a electric blower or brush.
⑤ Trowel-coating a primer to the part with the hole and fill it with a Repair Resin.
⑥ From the top of the Repair Resin, press it with a separate hole presser (a PET bottle cap is also acceptable).
⑦ Shave off the protruding Repair Resin with a scraper and you're done.
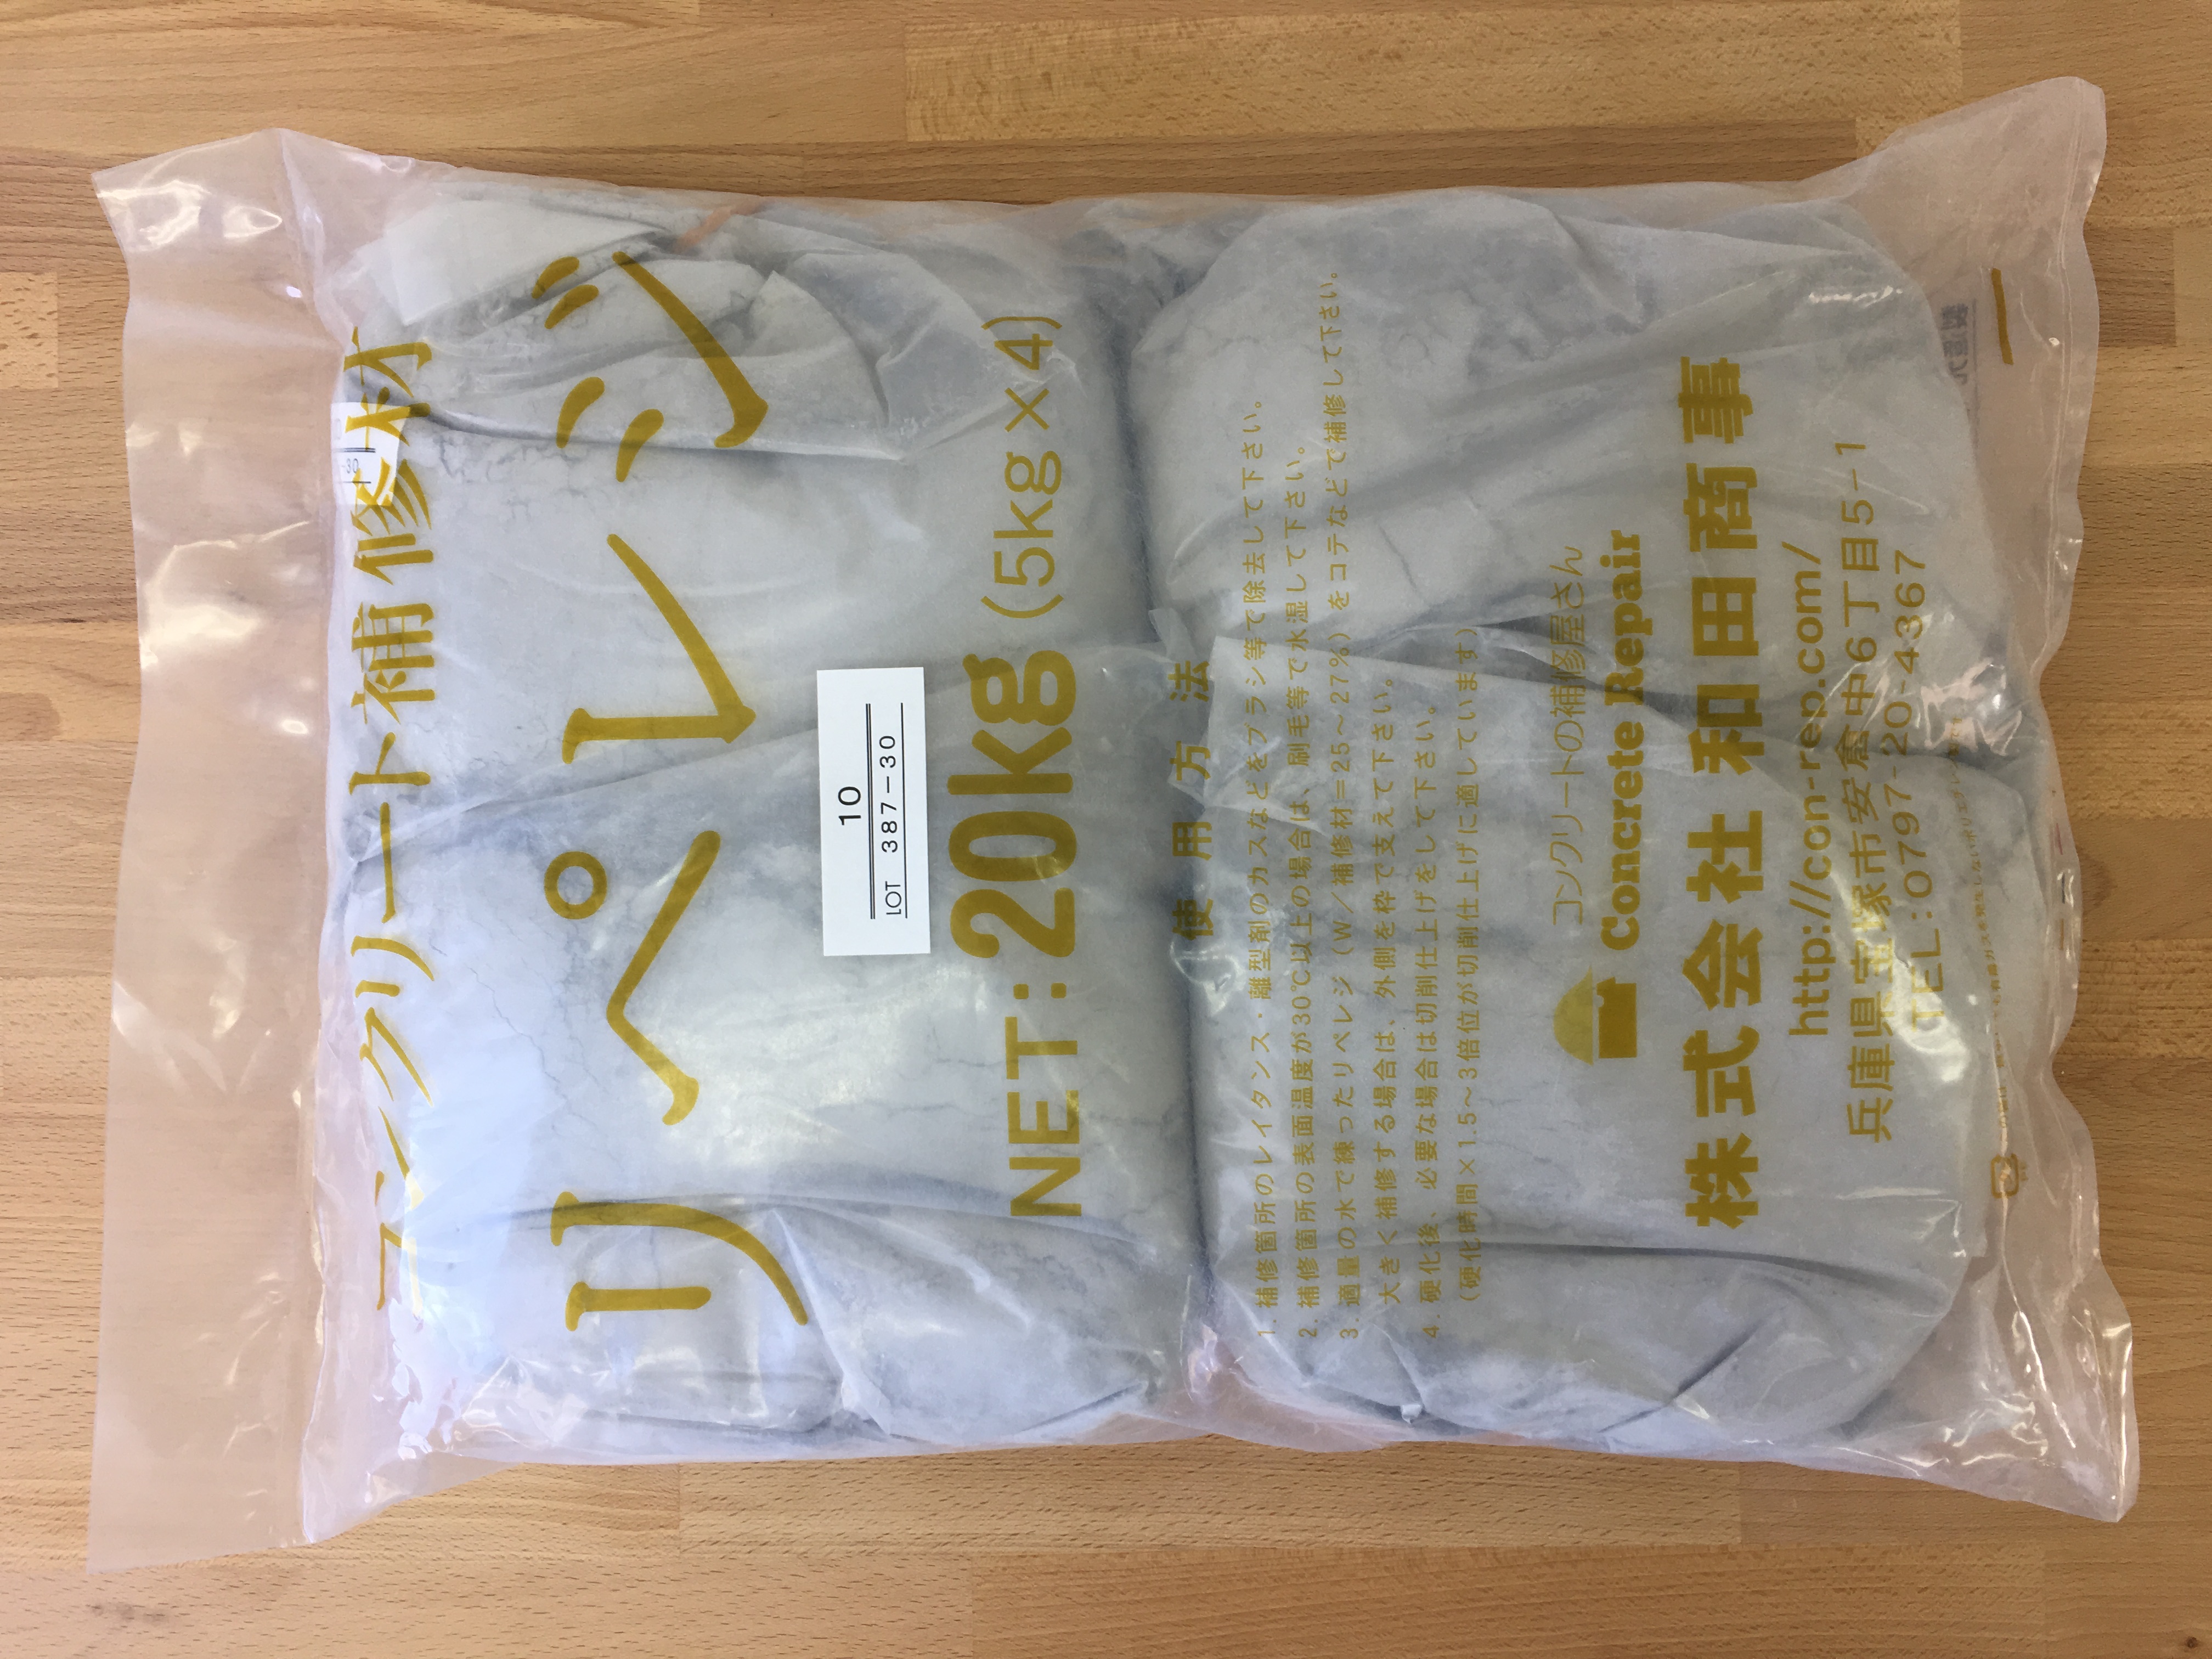 Repair Resin (each color, each number)
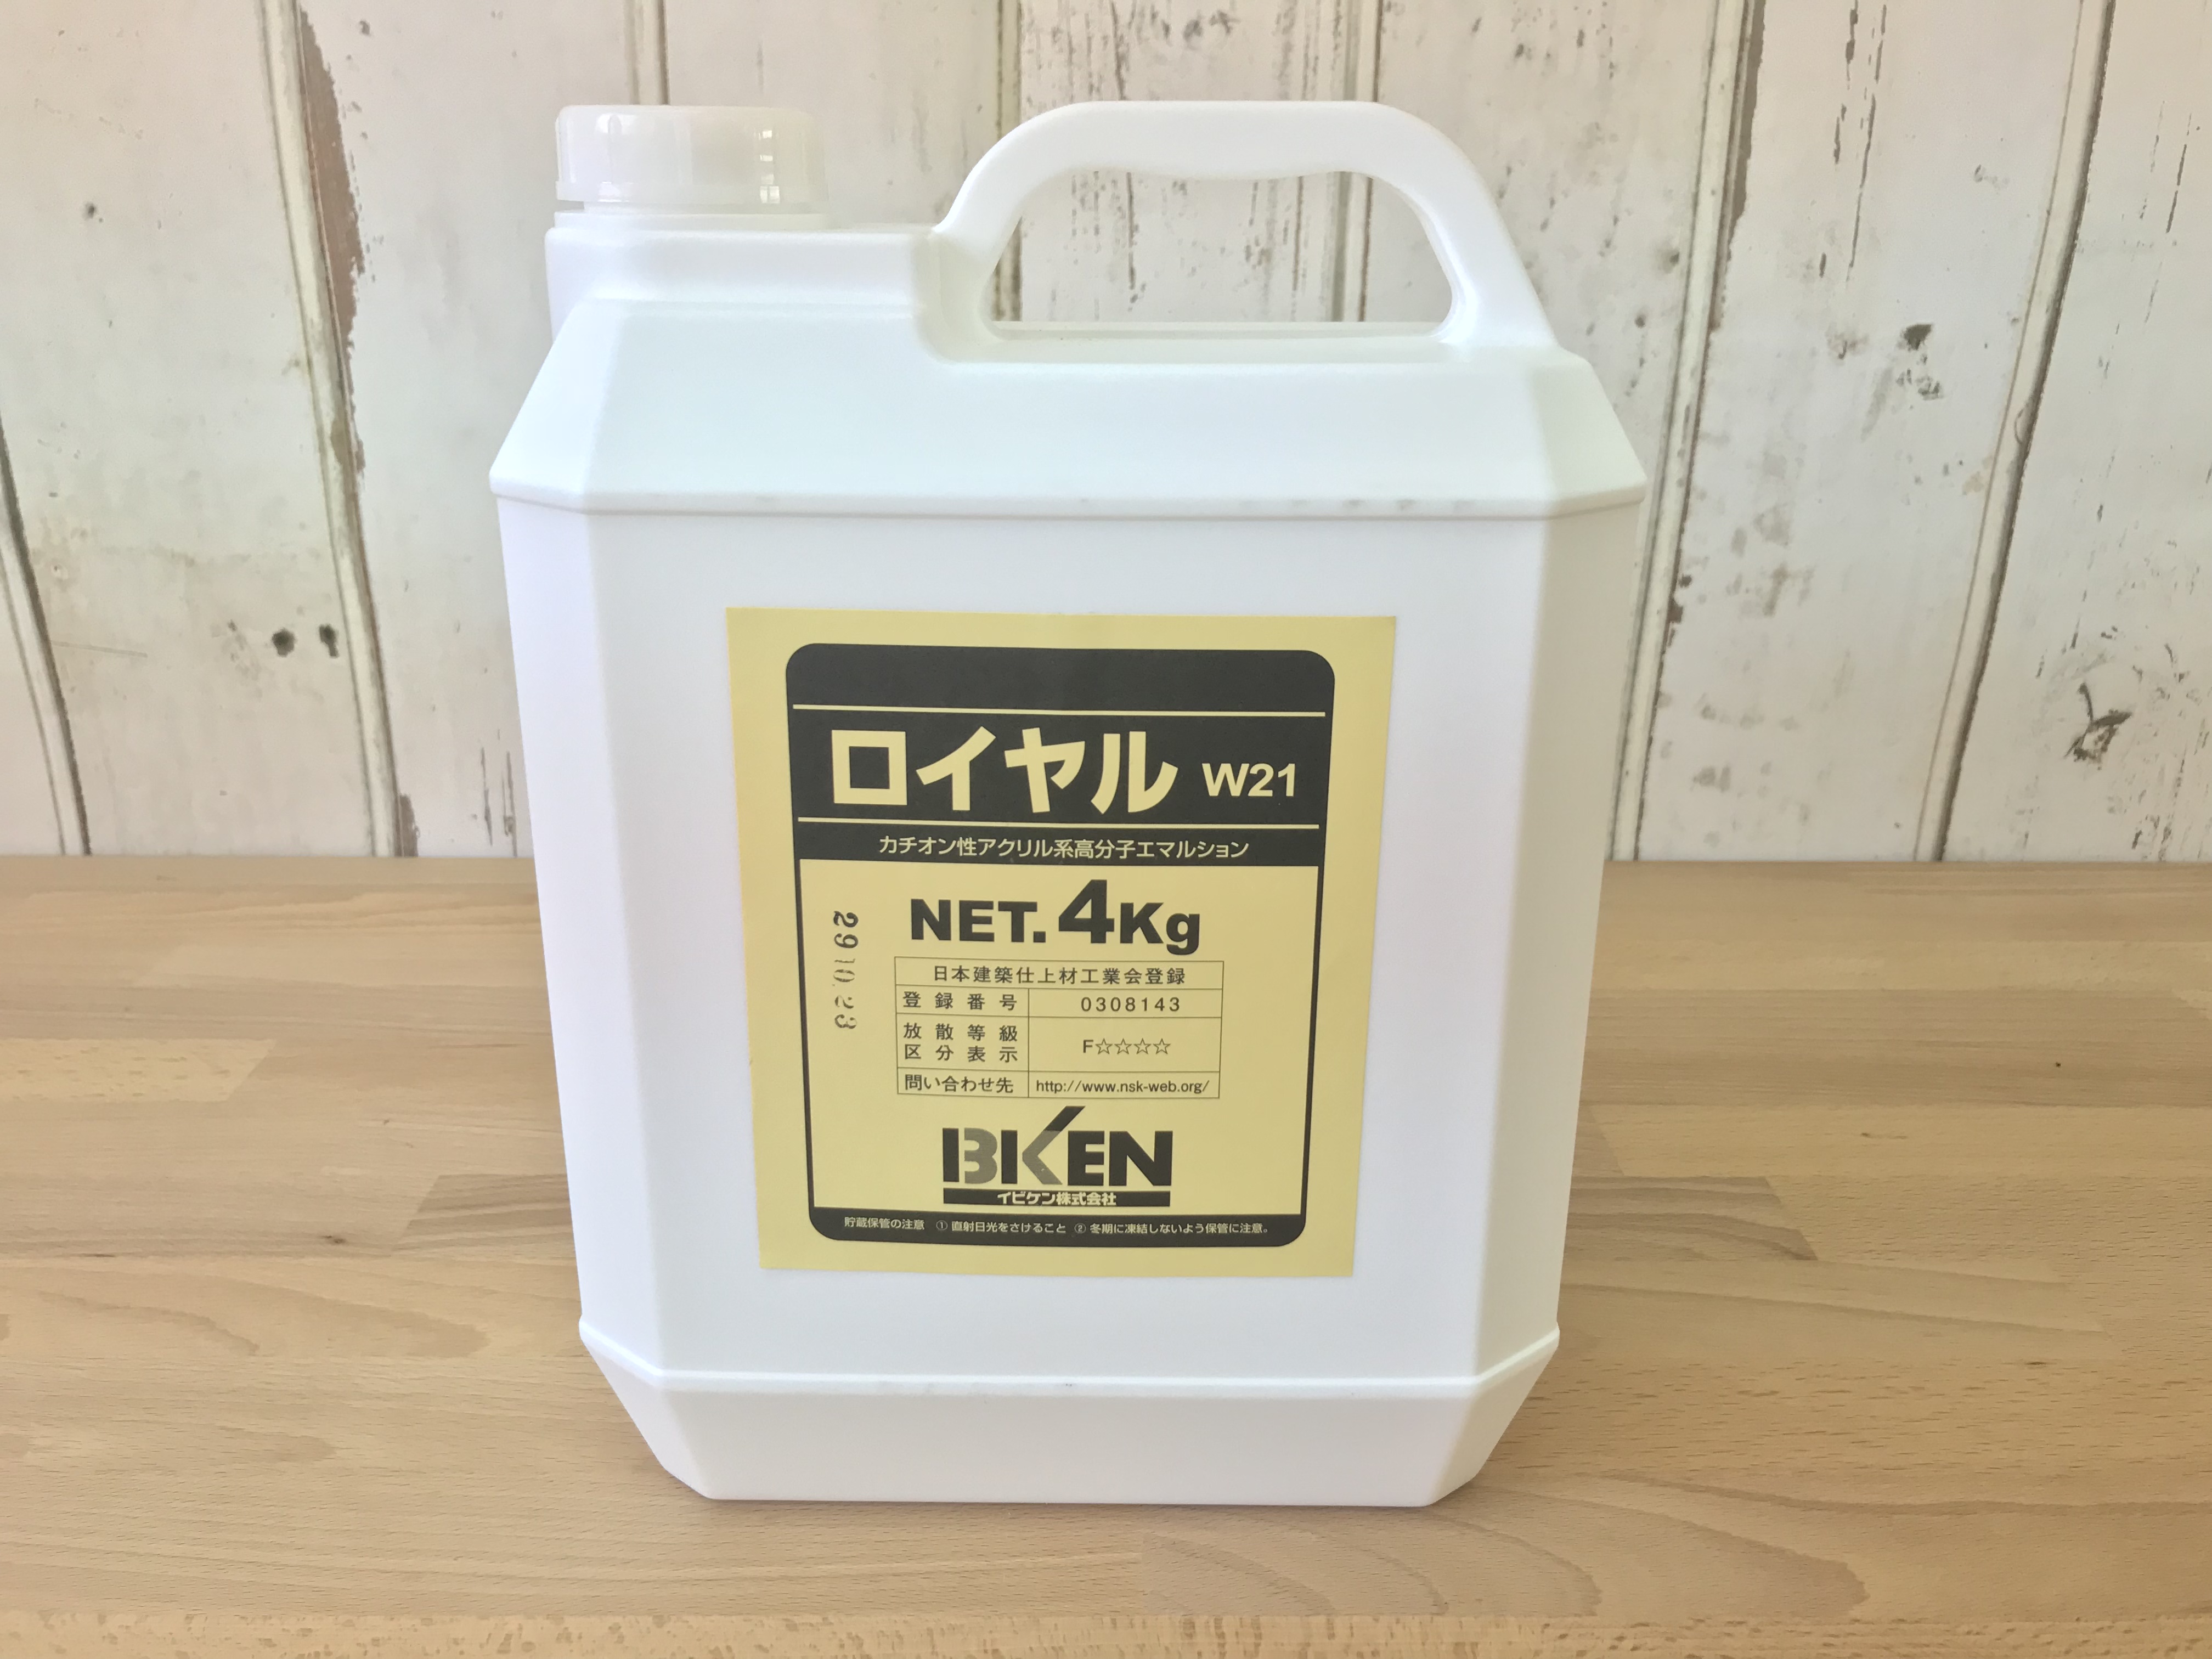 Cationic substrate adjustment primer "Royal W21"
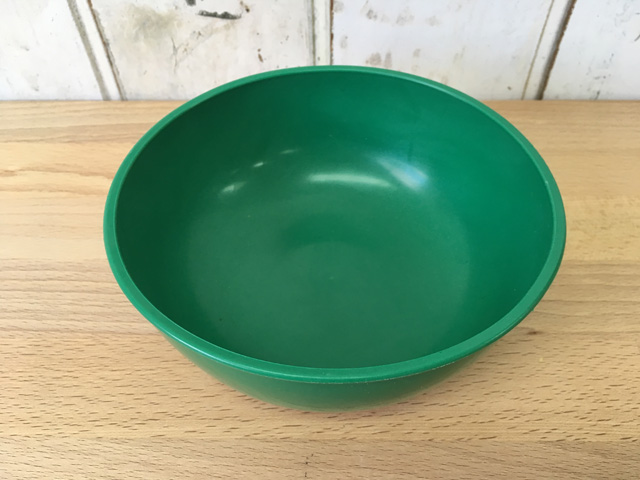
 Rubber Bowl