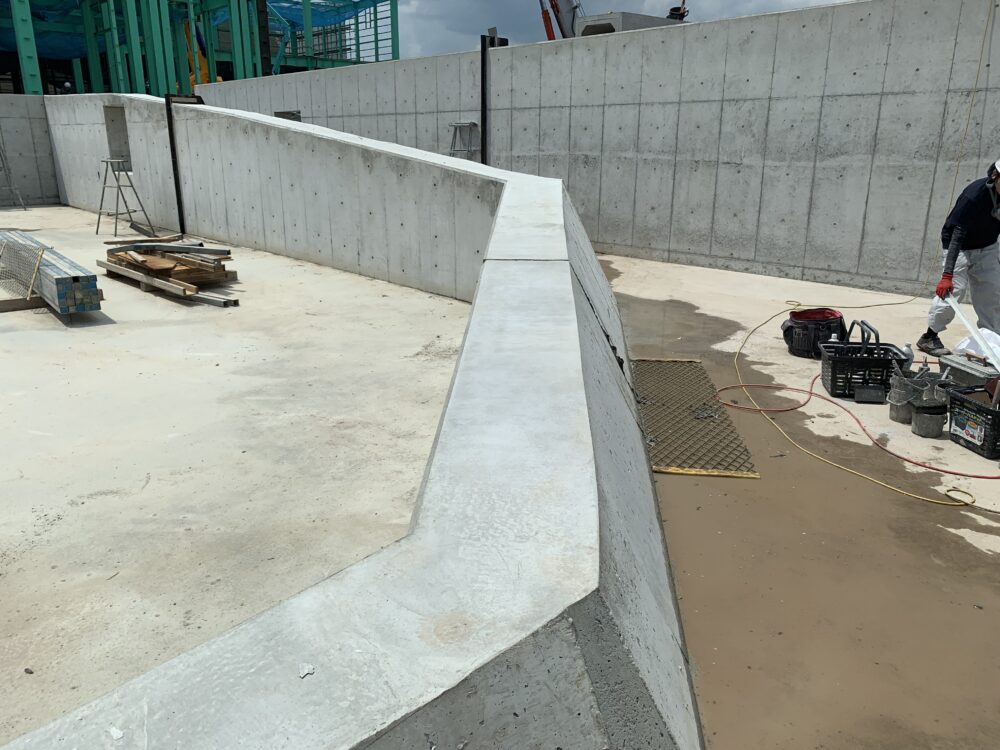
Height adjustment of the crown of levee
Click here for a list of products
・ Repair Resin
・ Rubber Bowl
・ C Repair Lining
・ C Repair Color
・ Tone Color
・ Royal W21
・ Pattern Pad
・ Level Grinding Wheel# 36
・ Wagner FLXIO
Things to prepare yourself
・ Metal trowel for knead
・ Metal trowel for intermediate trowel-coating
・ Metal trowel for lining material
・ Water
・ Scraper
・ Waterproof Sand Paper# 600
・ Grinder
・ Small bucket
・ Brush
・ Waste cloth
・ Electric blower
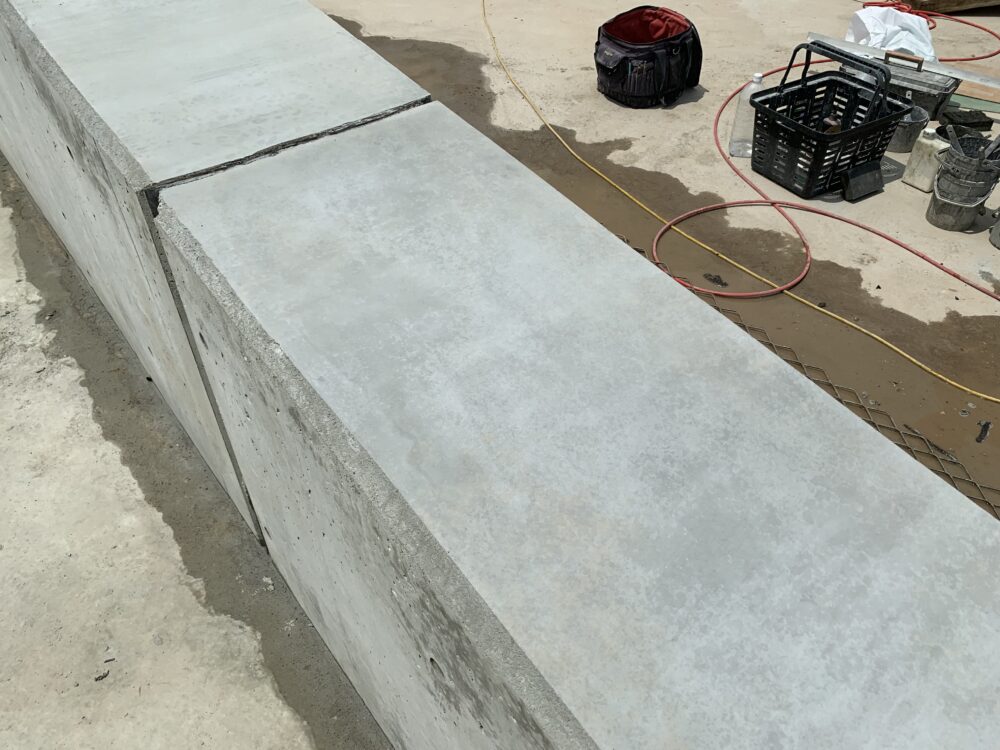
State before construction
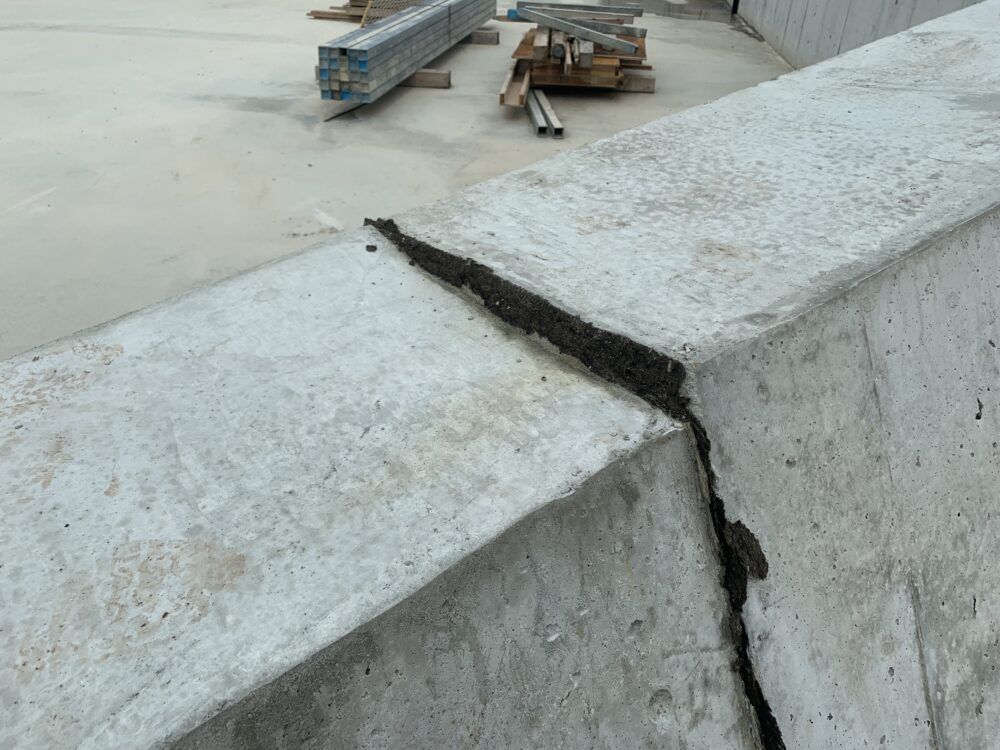
The front side of Ellas is low and the upper side of Ellas is high.
STEP1
1. Roughen with chipping to improve the adhesion of the part to be served.
2. Cleaning dust with a electric blower
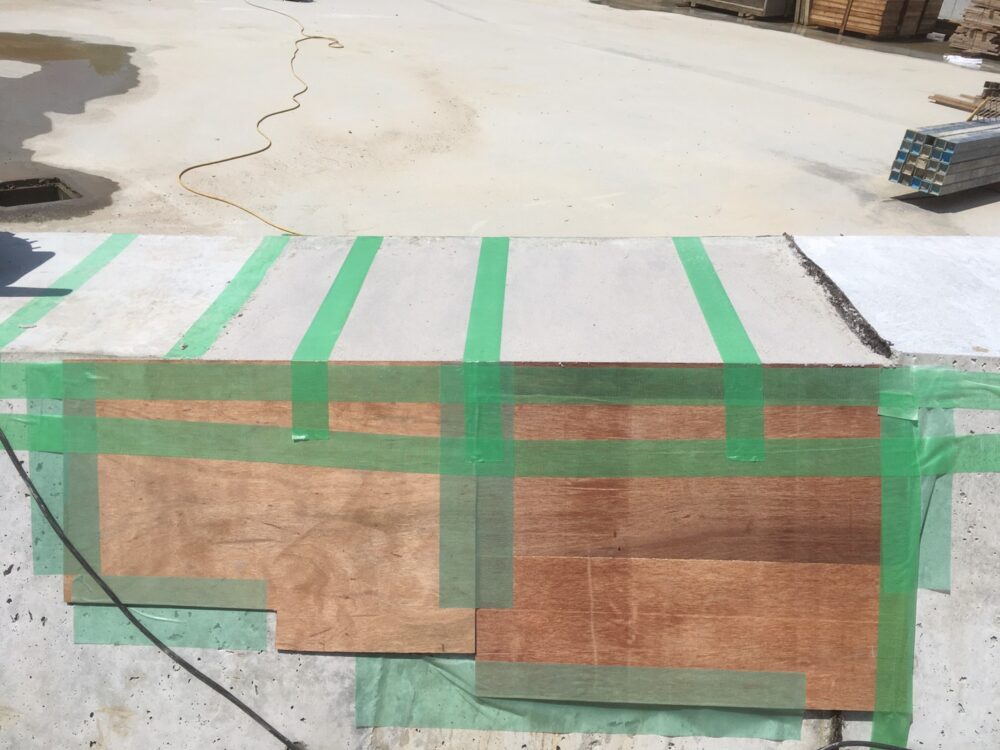
3. Apply adhesive resin(Alpron W-305.). At that time, the resin mortar is kneaded in consideration of the usable time of the adhesive. If it is deep, apply a formwork and apply resin mortar.
STEP2
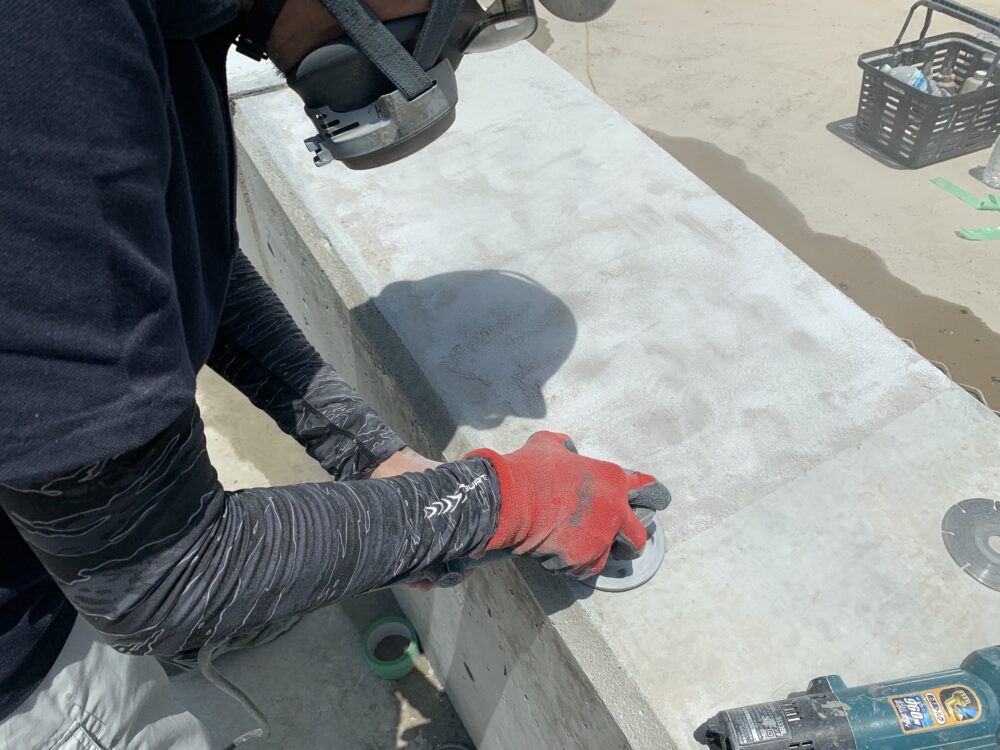
4. After confirming that the resin mortar has dried sufficiently and has become strong, level it flat with a grinder(Diamond cup blade, Level Grinding Wheel # 36).
STEP3
Let's surface finish the surface of the smoothed surface.
5. Remove dust and dirt, and apply a thin trowel-coating of Royal W21 diluted solution (water 5: undiluted solution 1).
6. Trowel-coating a softly kneaded Repair Resin to cover the entire area.
It is an image that fills fine dents, scratches, and gaps.
7. After it is completely dried, remove it with a border with the surroundings, trowel marks, scraper or paper to eliminate small difference in level.
STEP4
Seen from a position slightly away from the repaired part, determine the overall finished color.
8. At first, spray a little and check the color.
Let's add it little by little while drying.
It is OK when the feeling of discomfort with the surroundings disappears and the groundwork disappears.
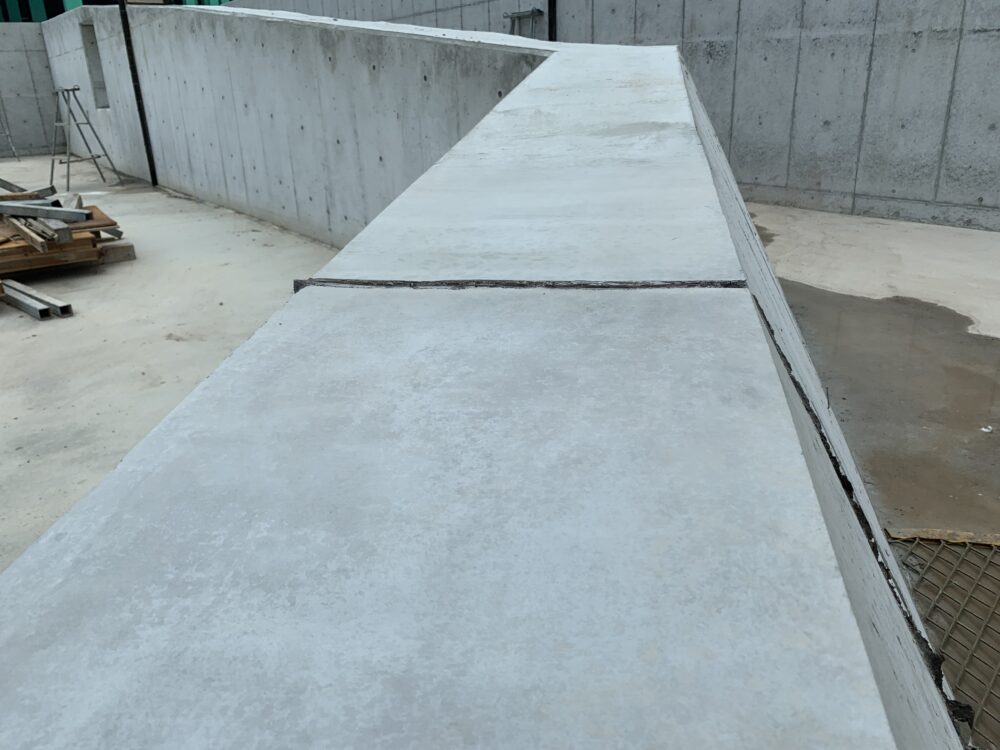
completion
9. Add a pattern using Tone Color and Pattern Pad.
Apply 10 ・ # 600 paper to the surface.
stain and pattern to eliminate discomfort with the surroundings.
If there is no discomfort, it is complete.
Before construction
What you can buy at our shop
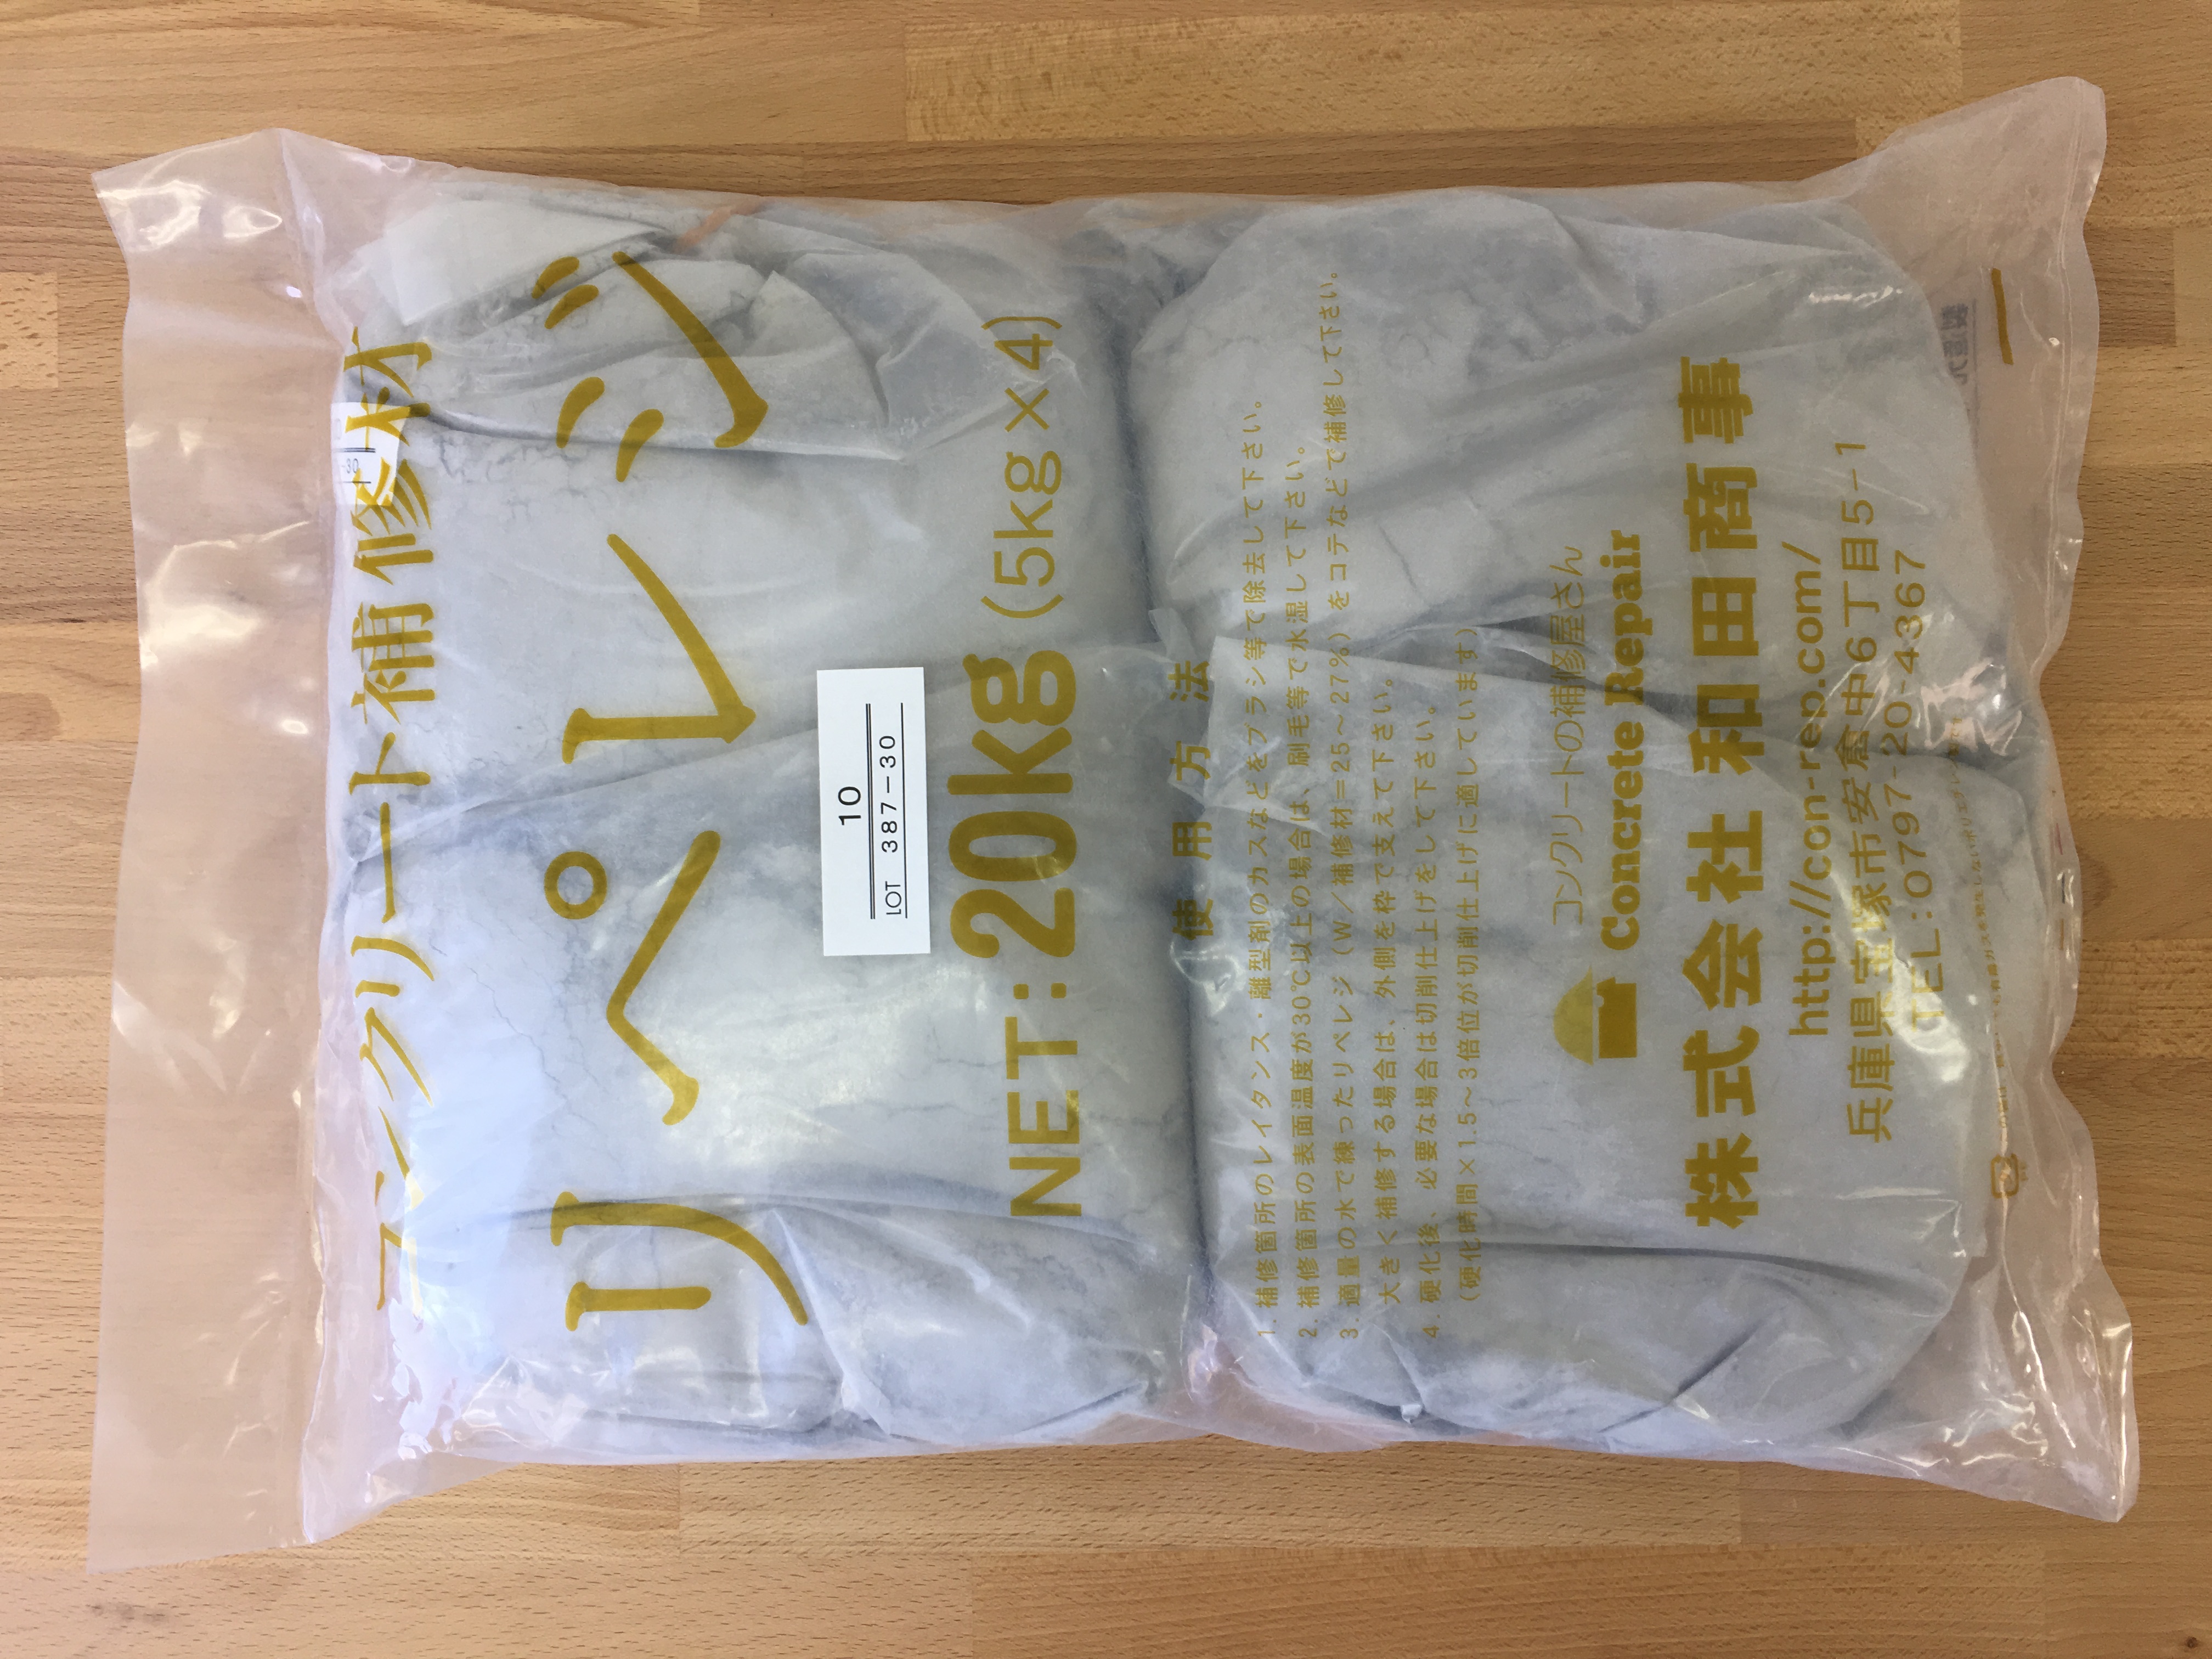 Repair Resin (each color, each number)
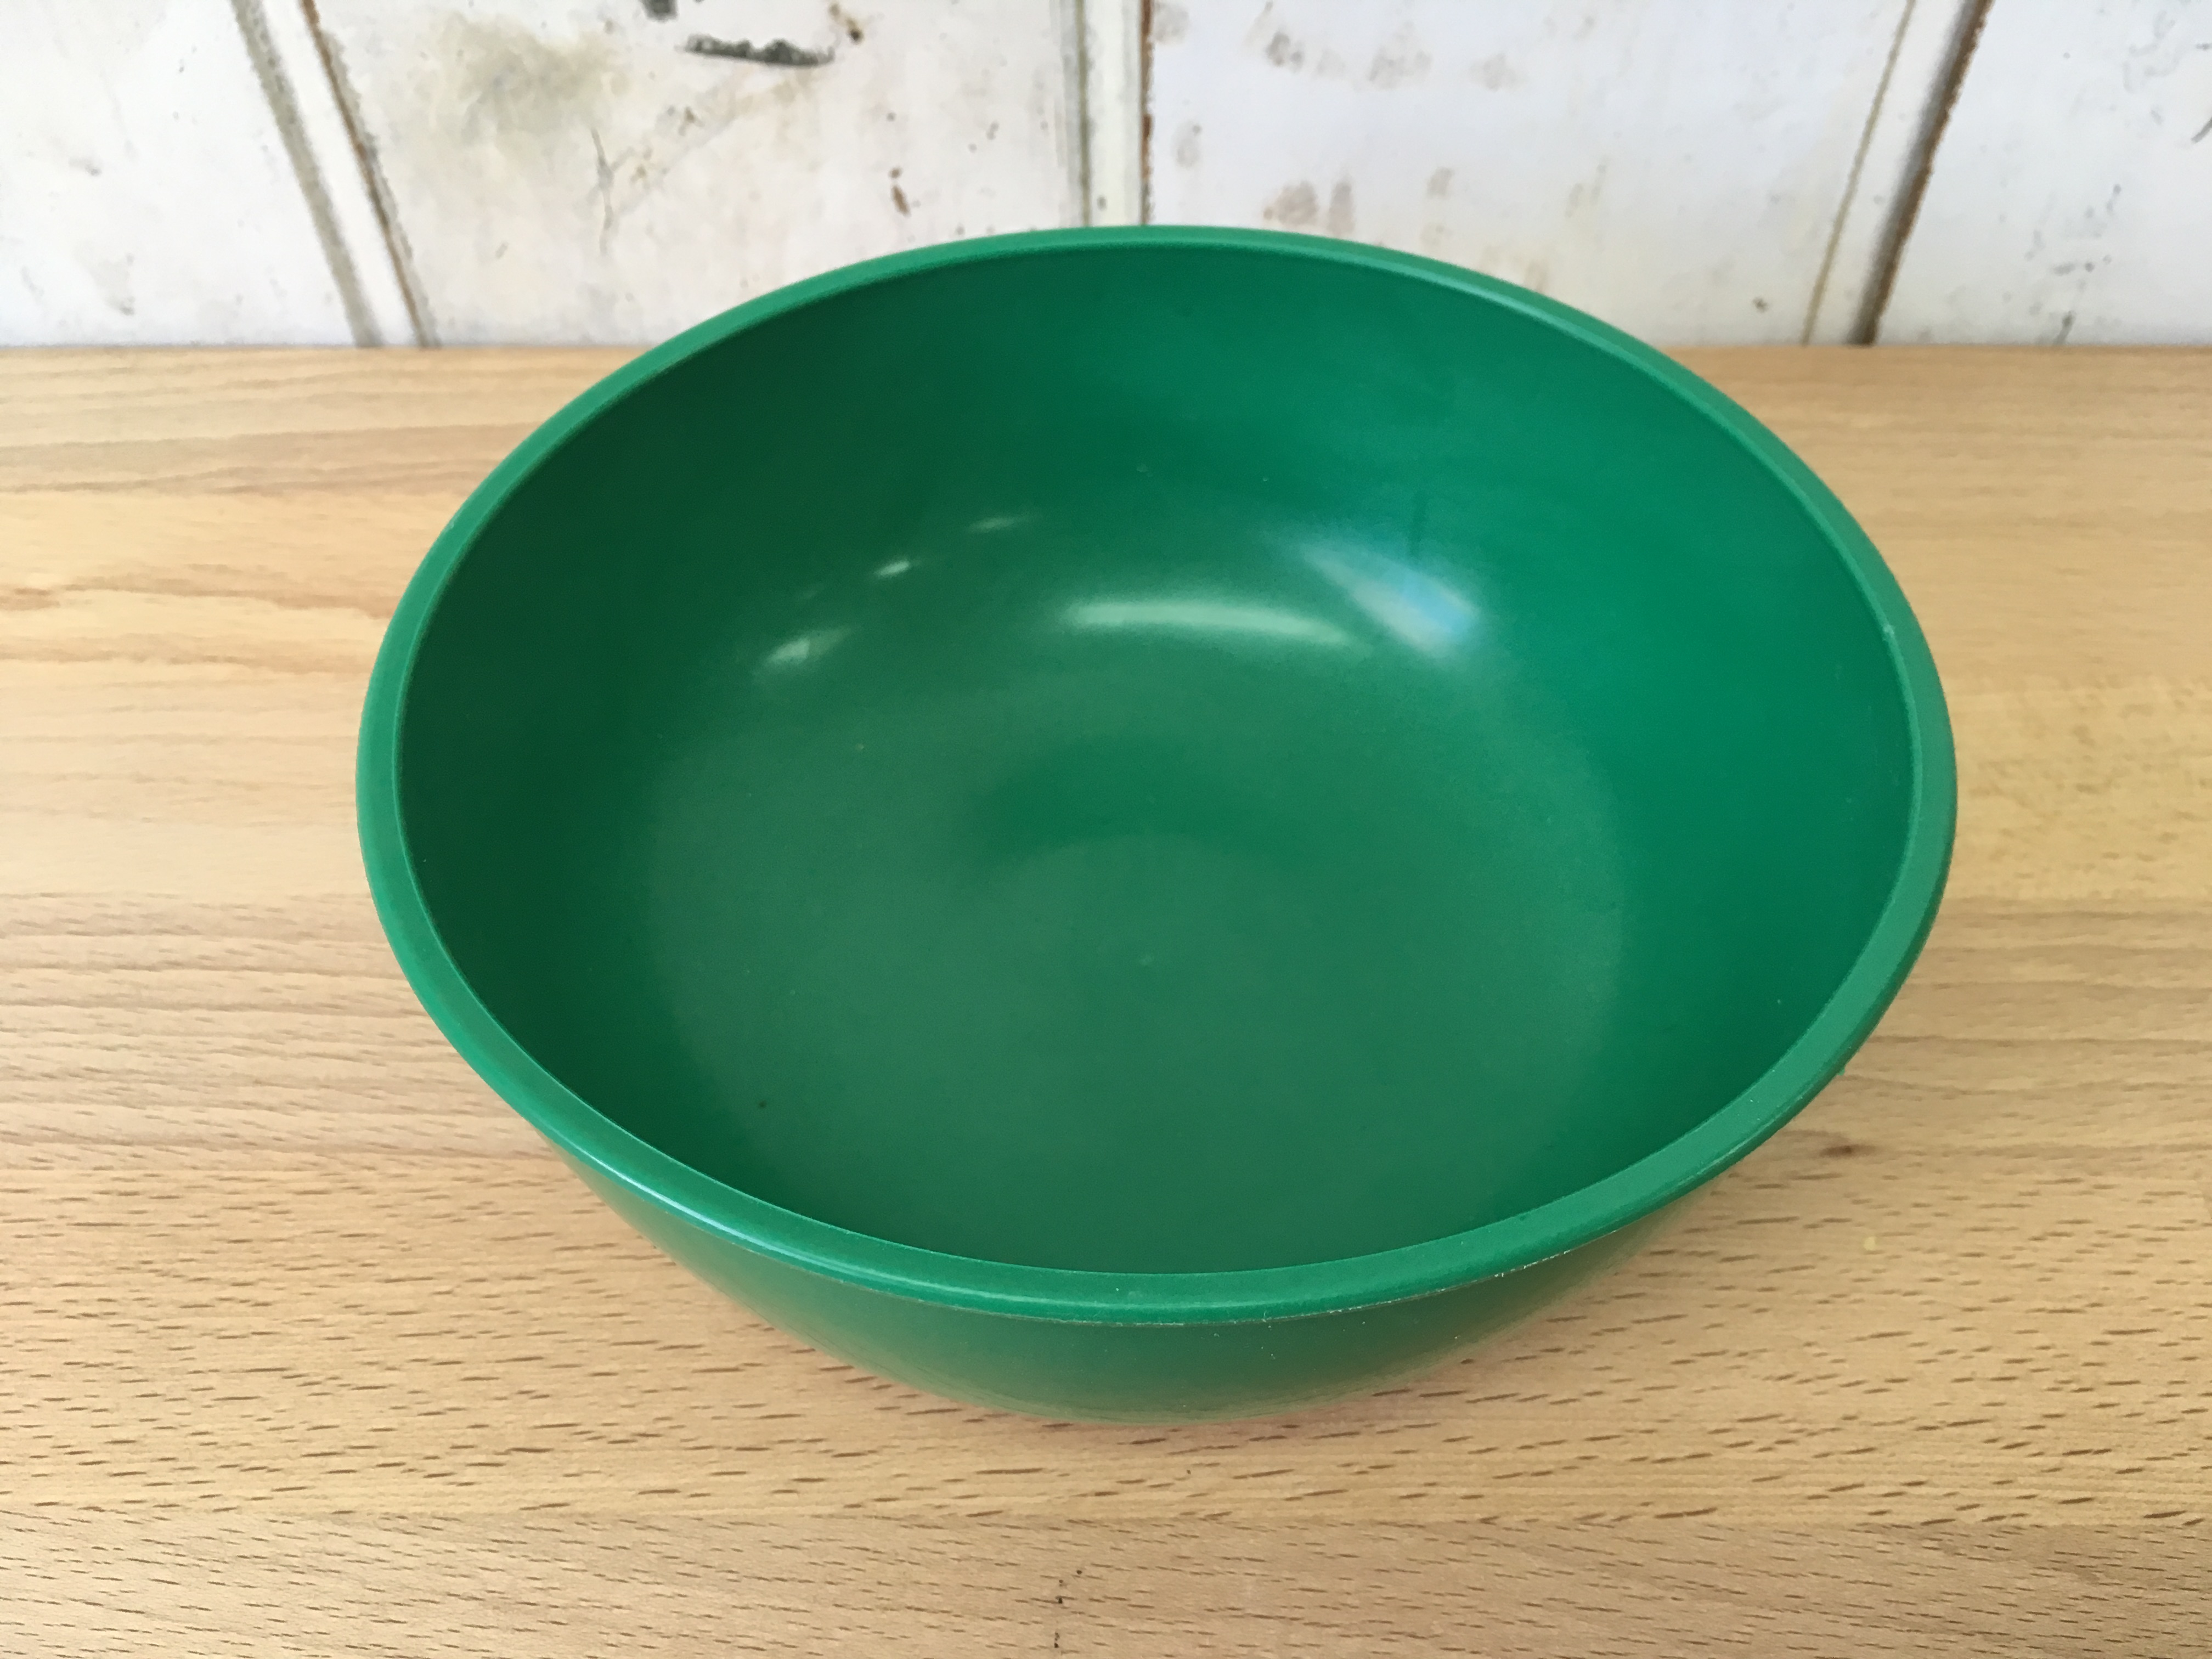 Rubber Bowl
 C Repair Lining
 C Repair Color (each color separately)
 C Repair Color (7colors set)
 Tone Color (Black, Yellow, Red)
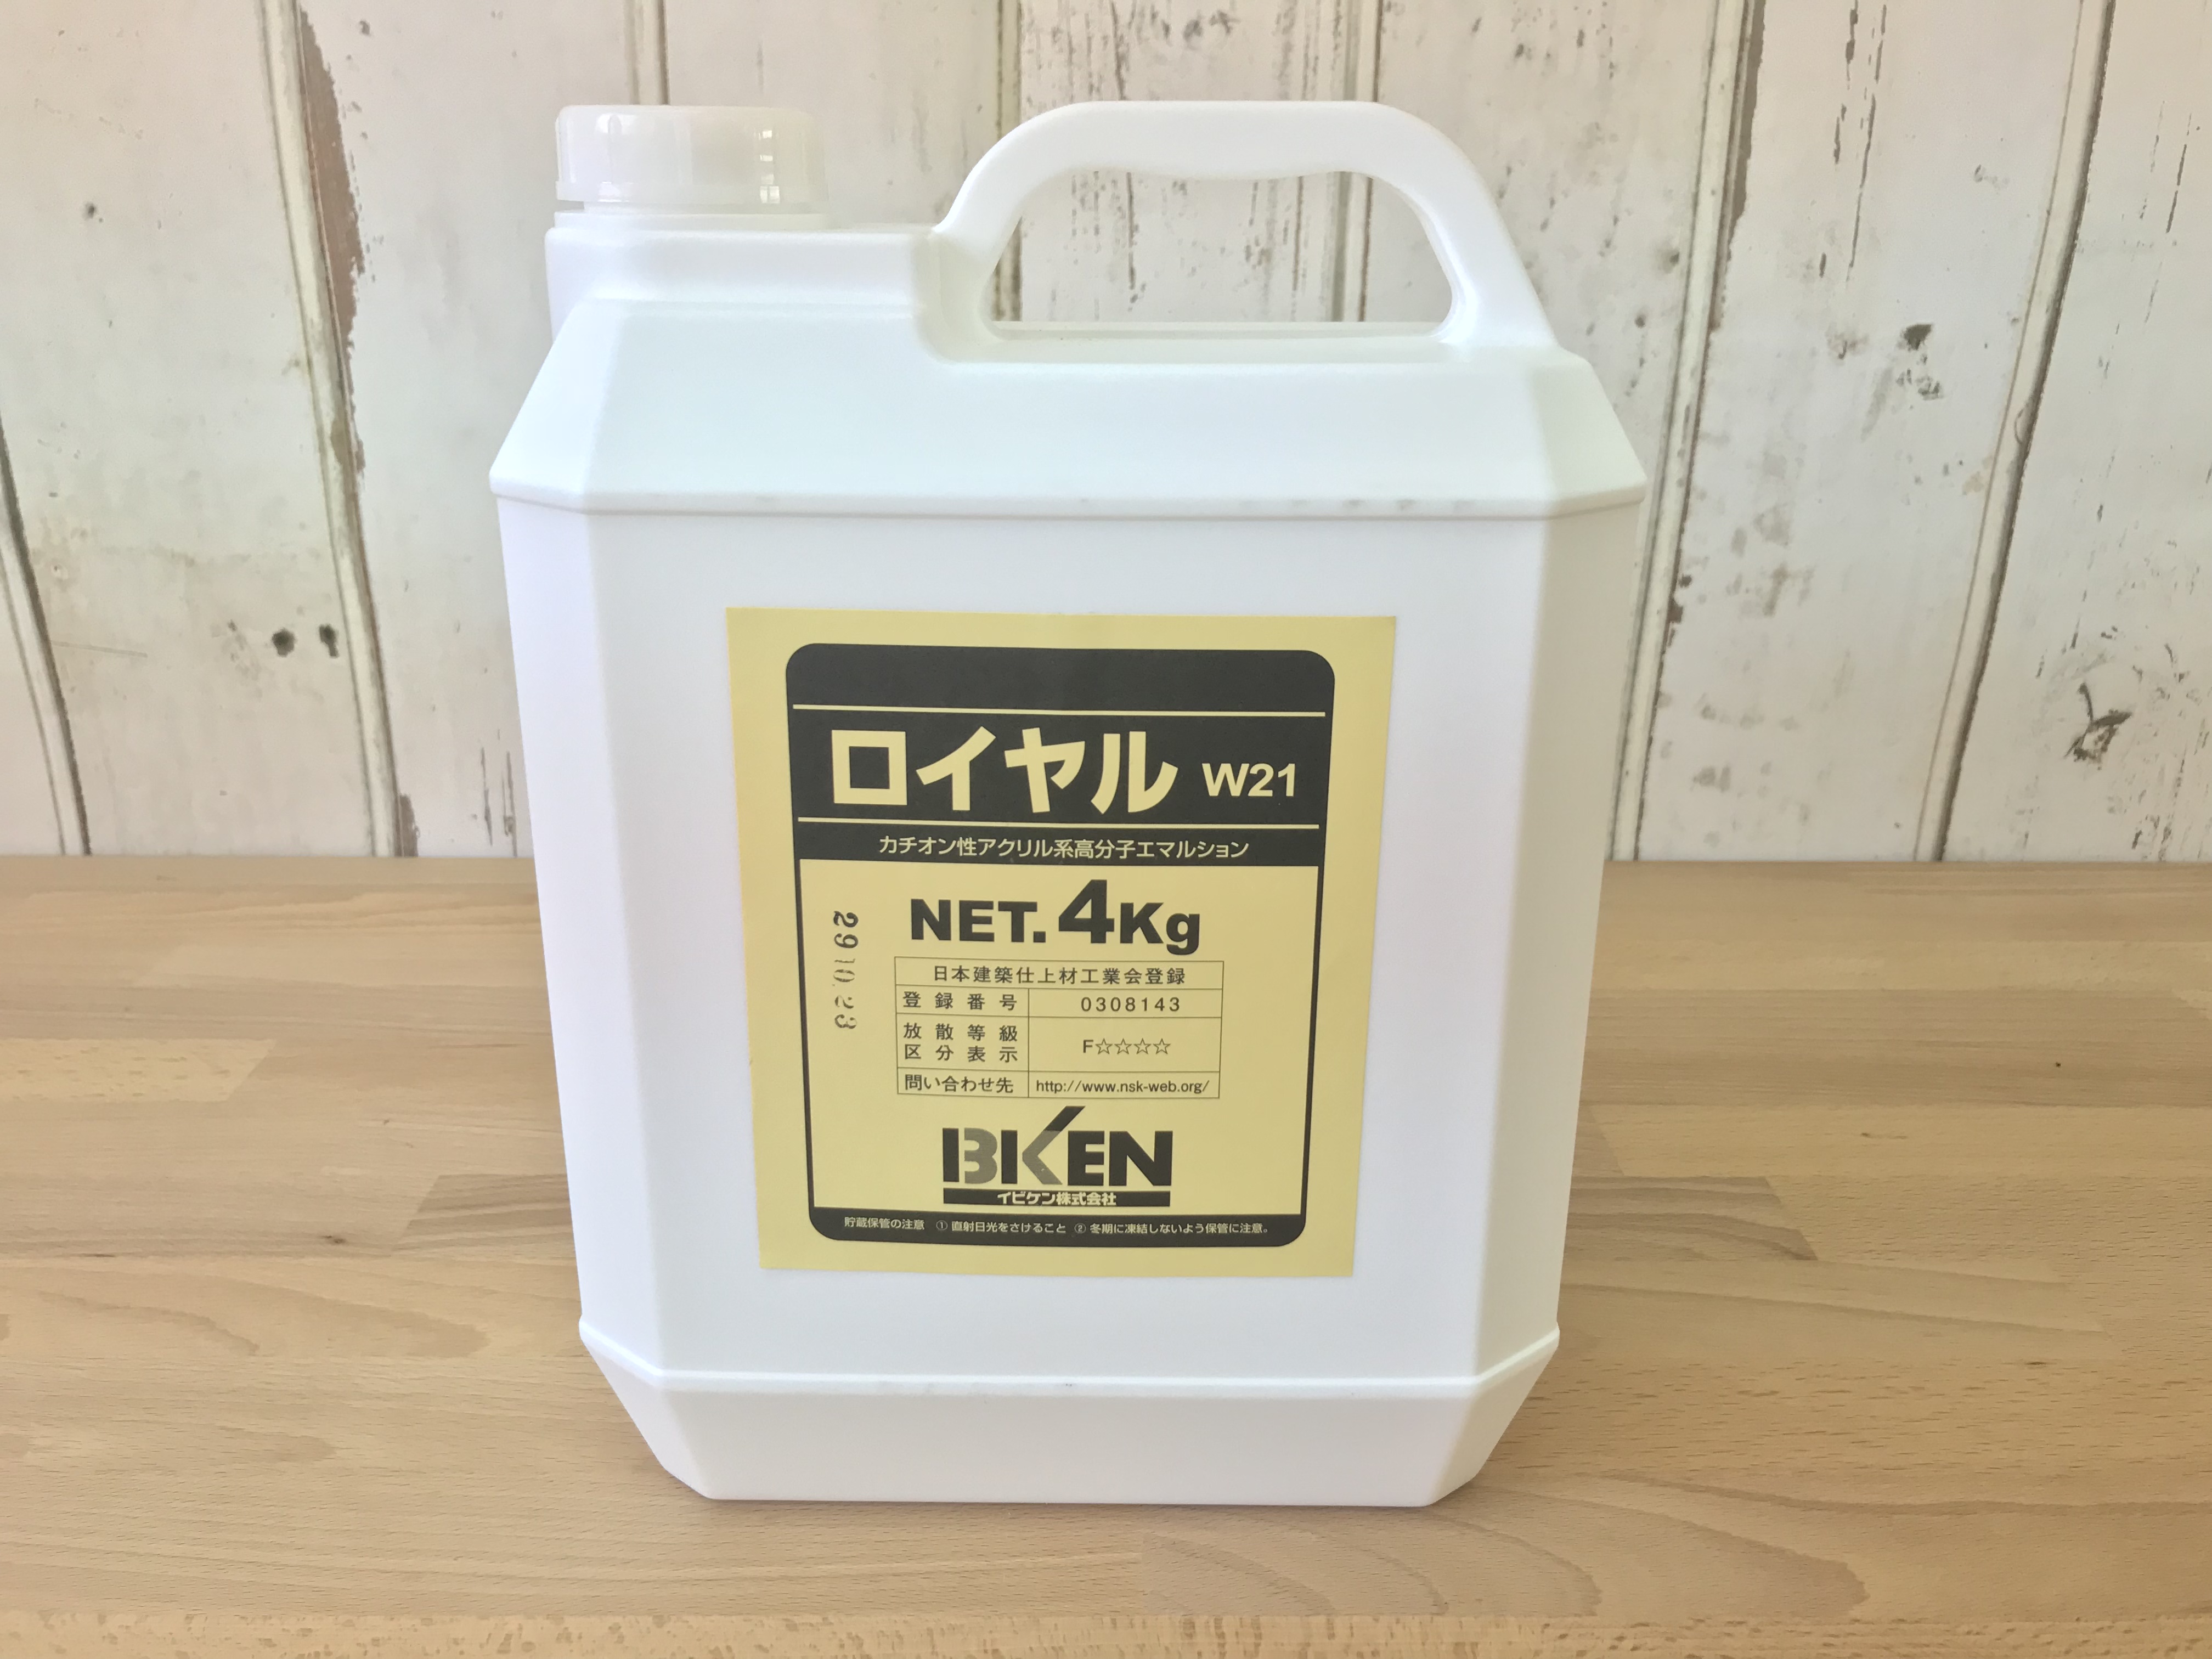 Cationic substrate adjustment primer "Royal W21"
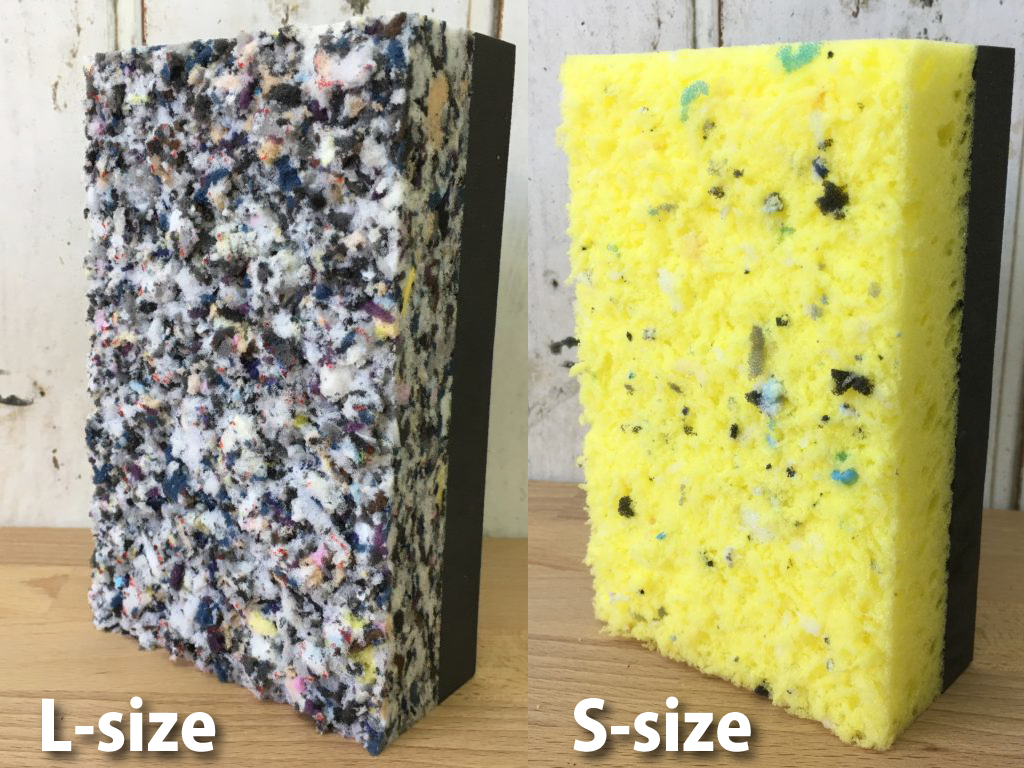 Pattern Pad (Large / Small)
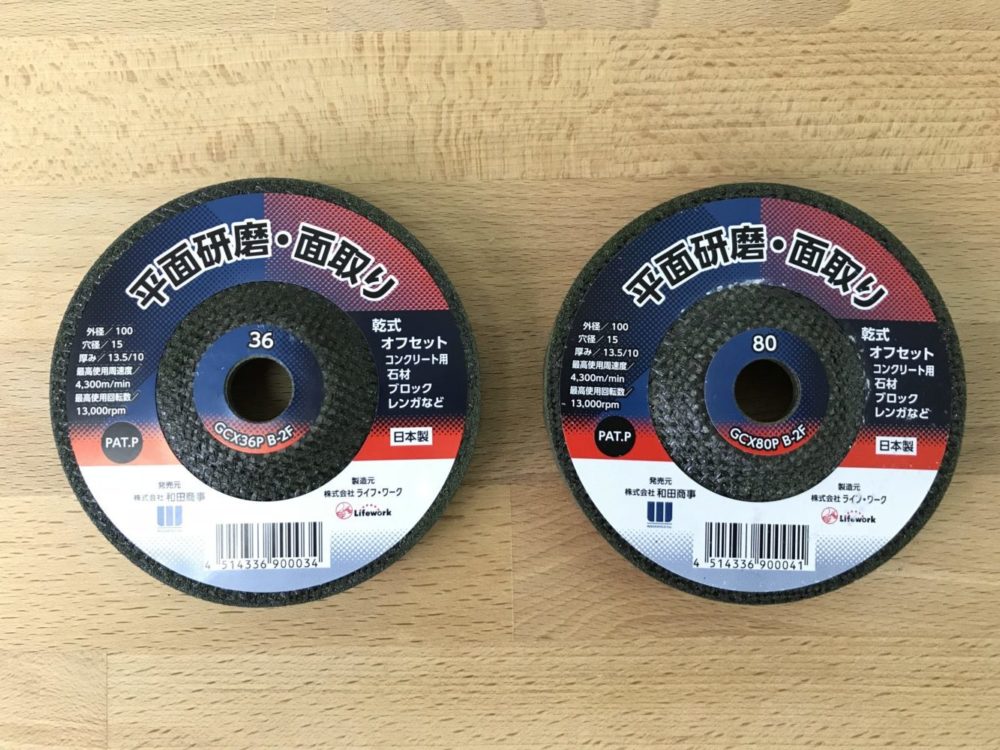 Level Grinding Wheel # 36 # 80
 Wagner Flexio 570 Electric Spray Gun