V cut processing

・ Wagner Flexio
・ Pattern Pad
・ Level Grinding Wheel # 36
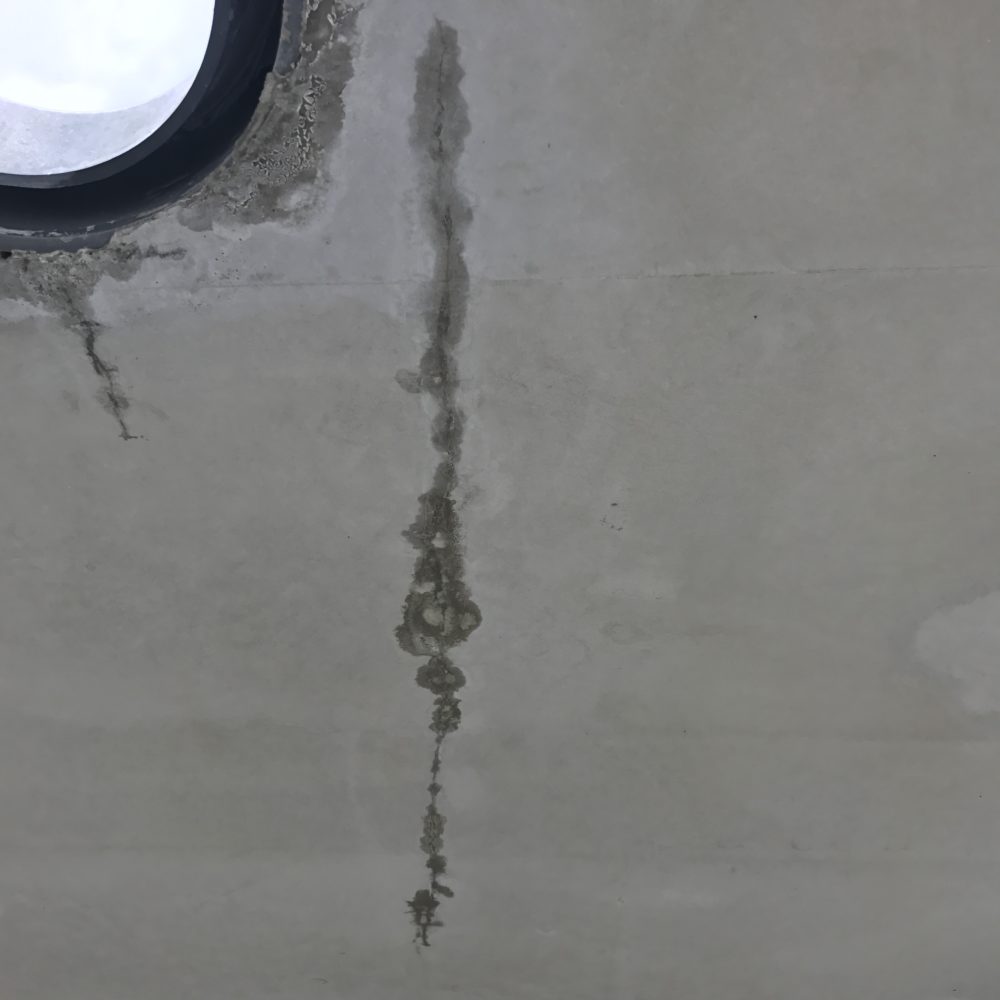
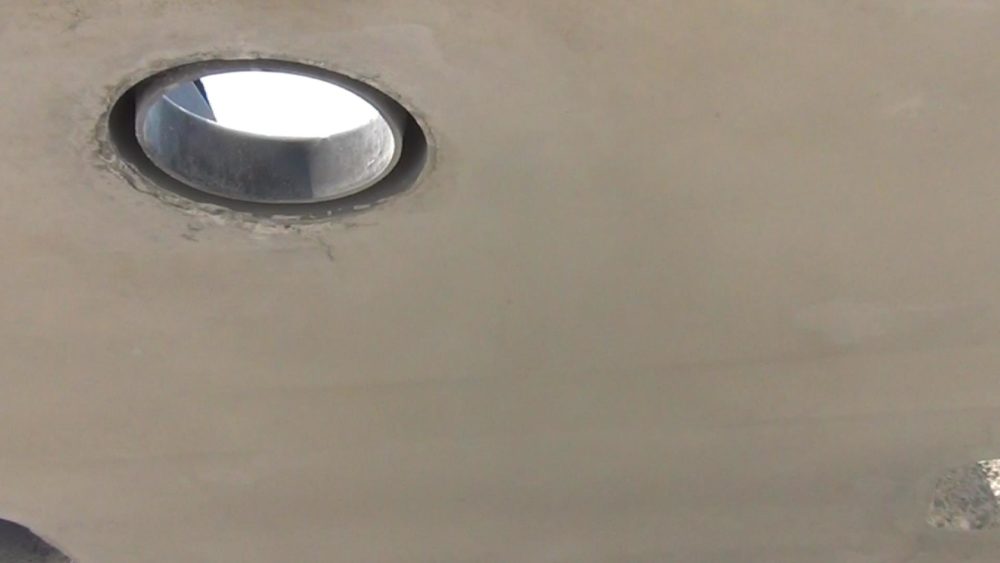
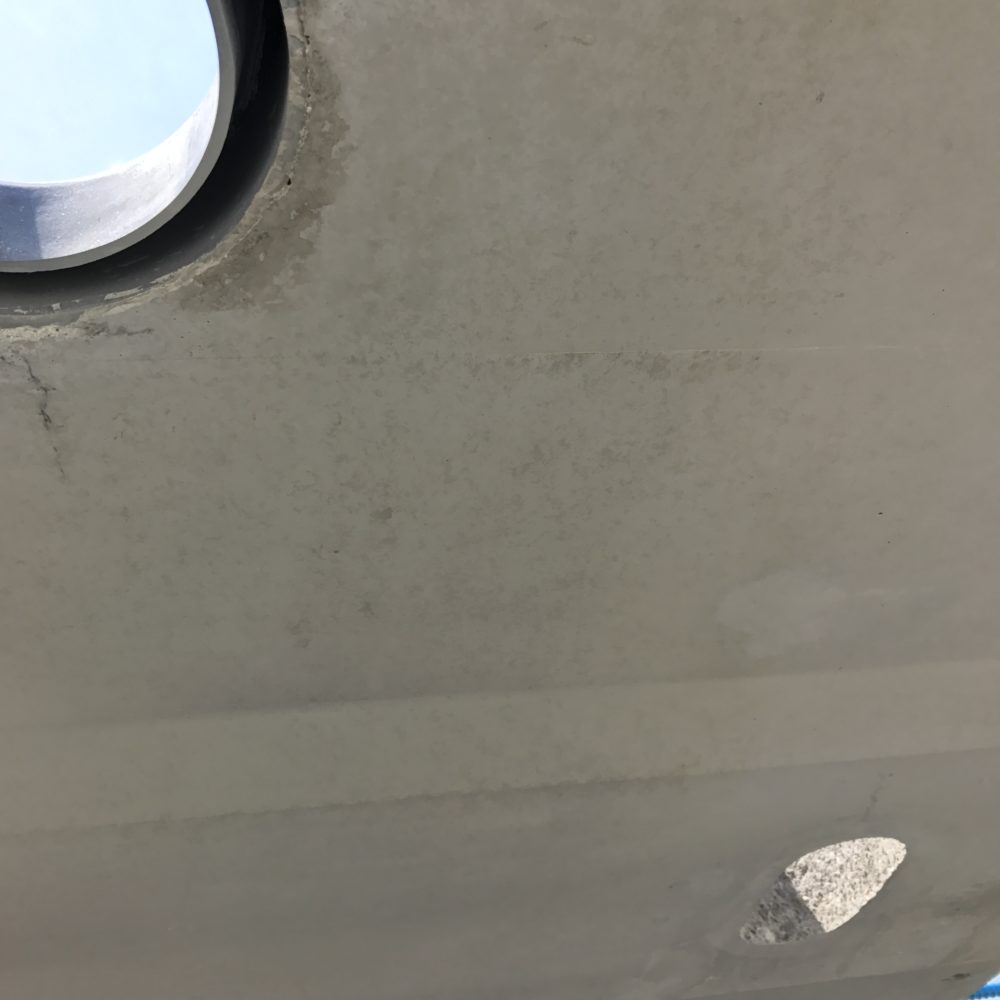
Before construction
STEP1
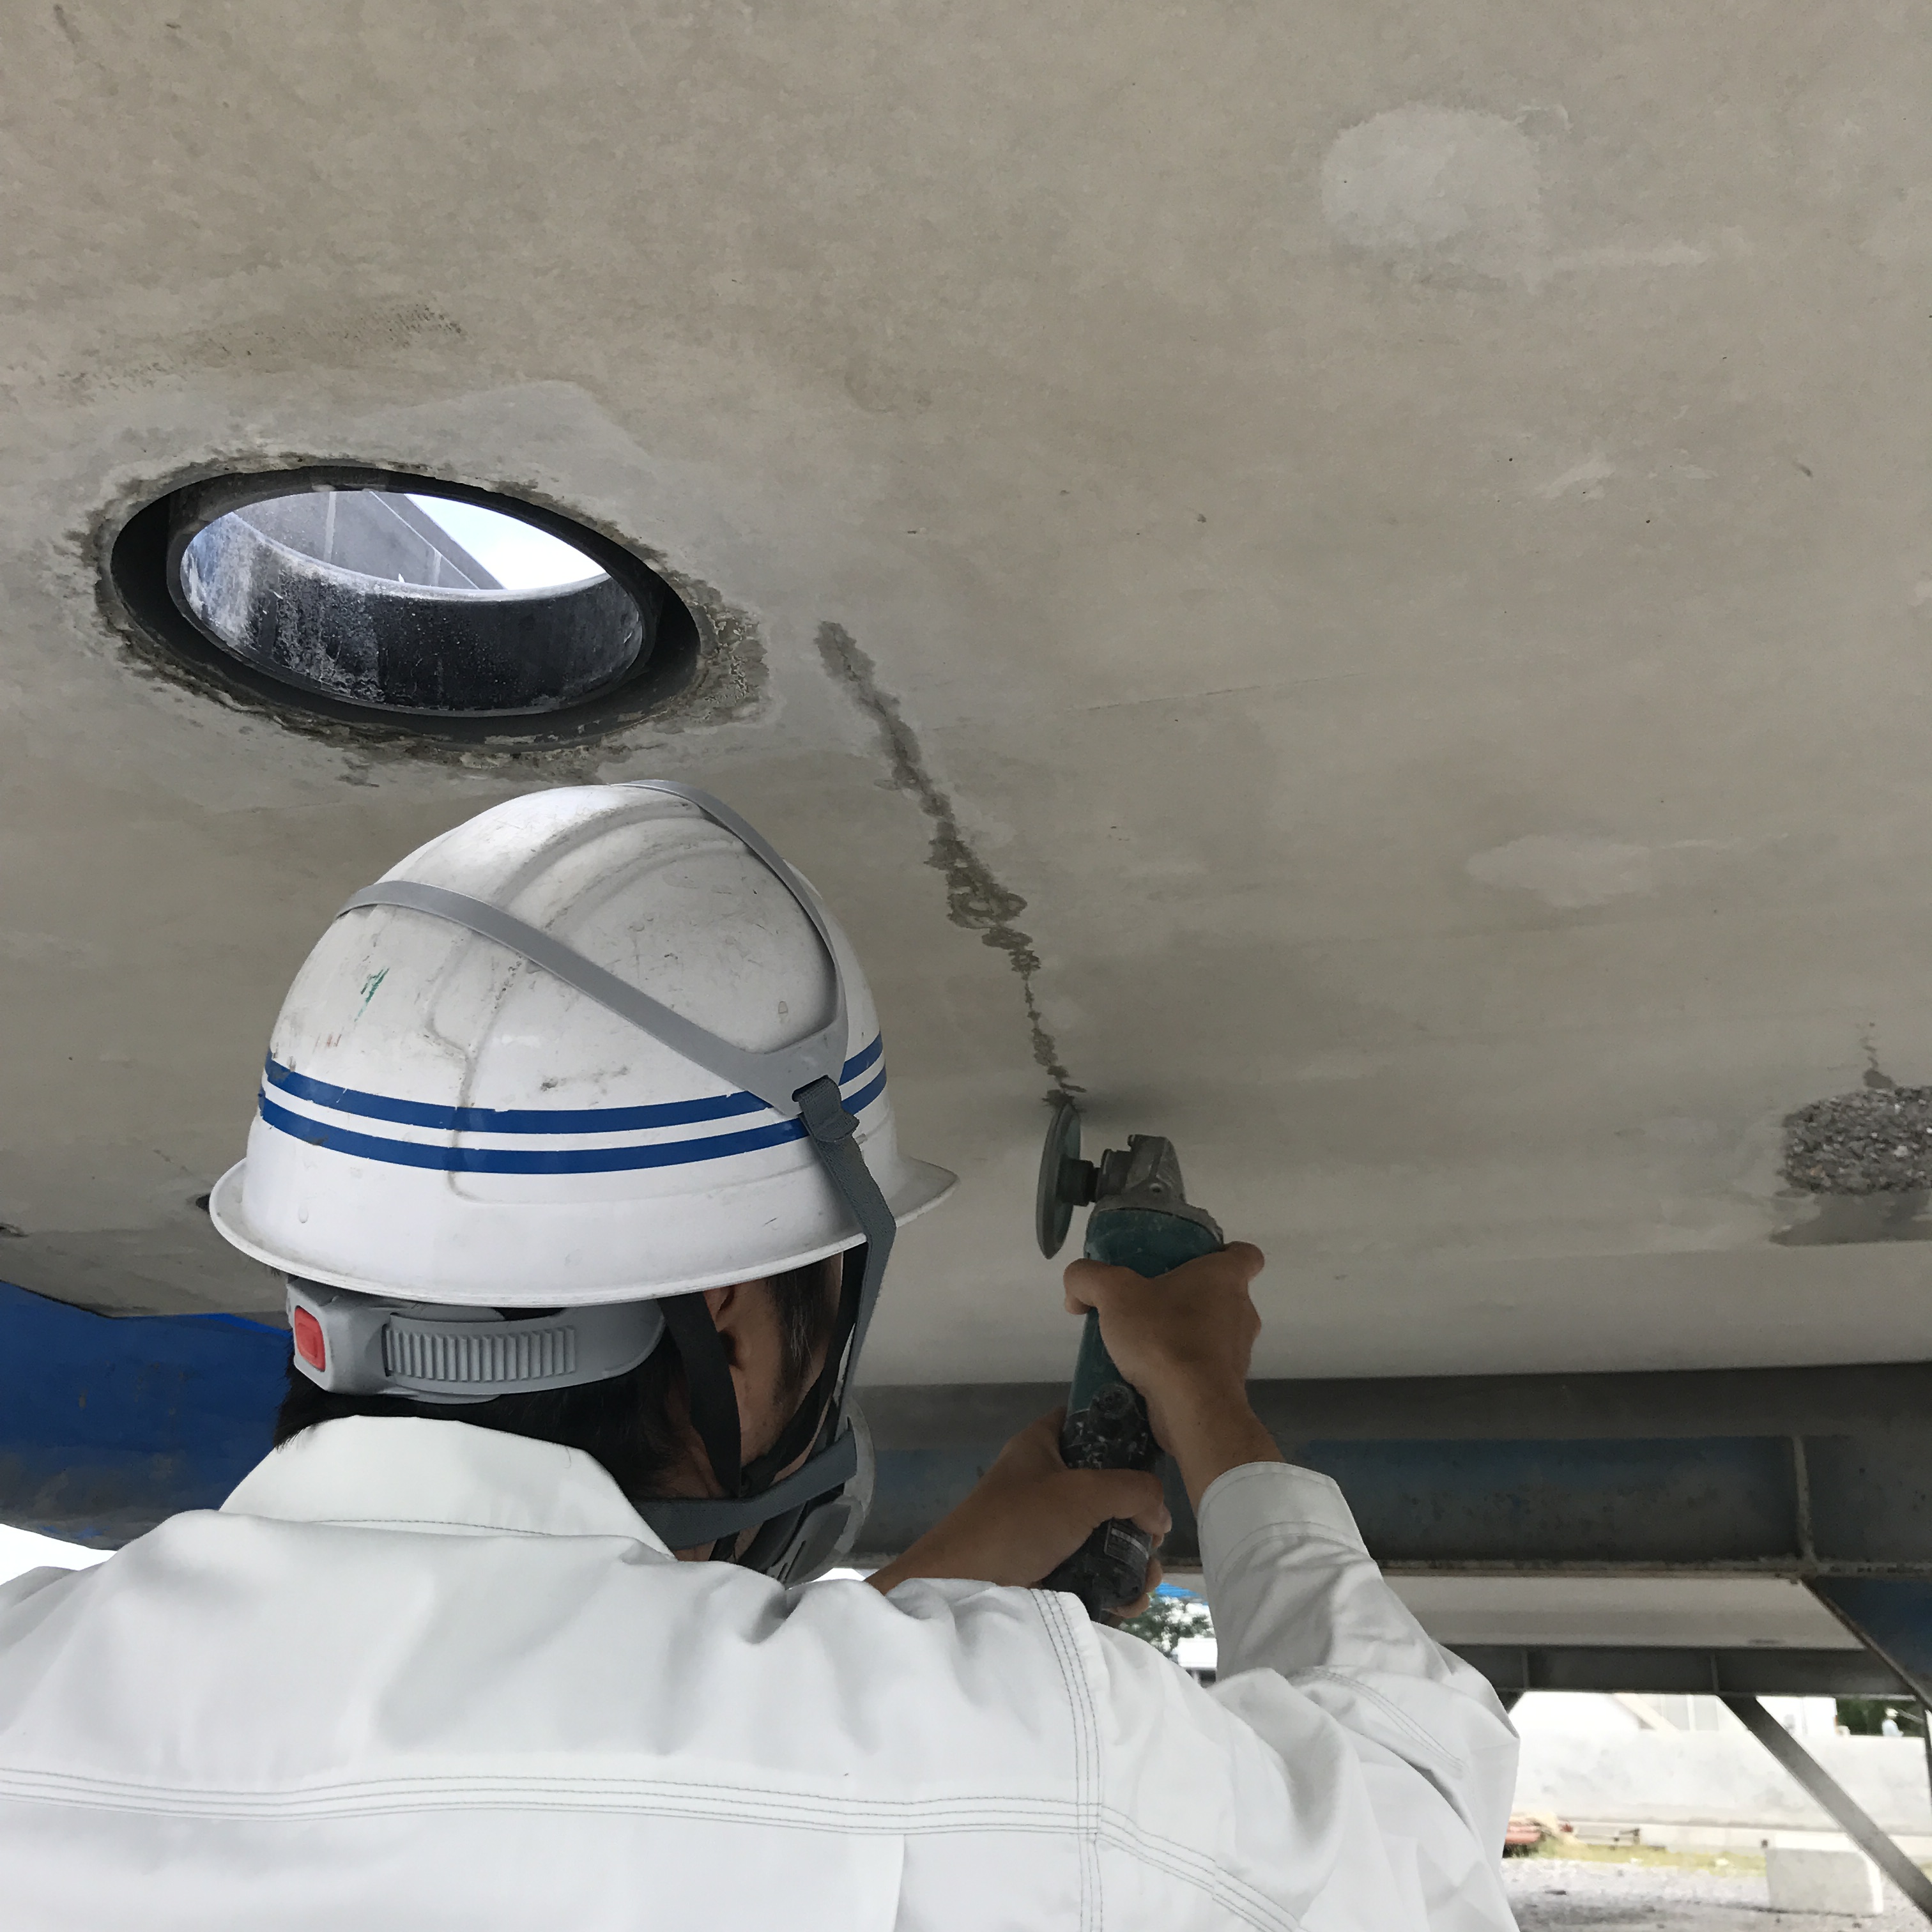
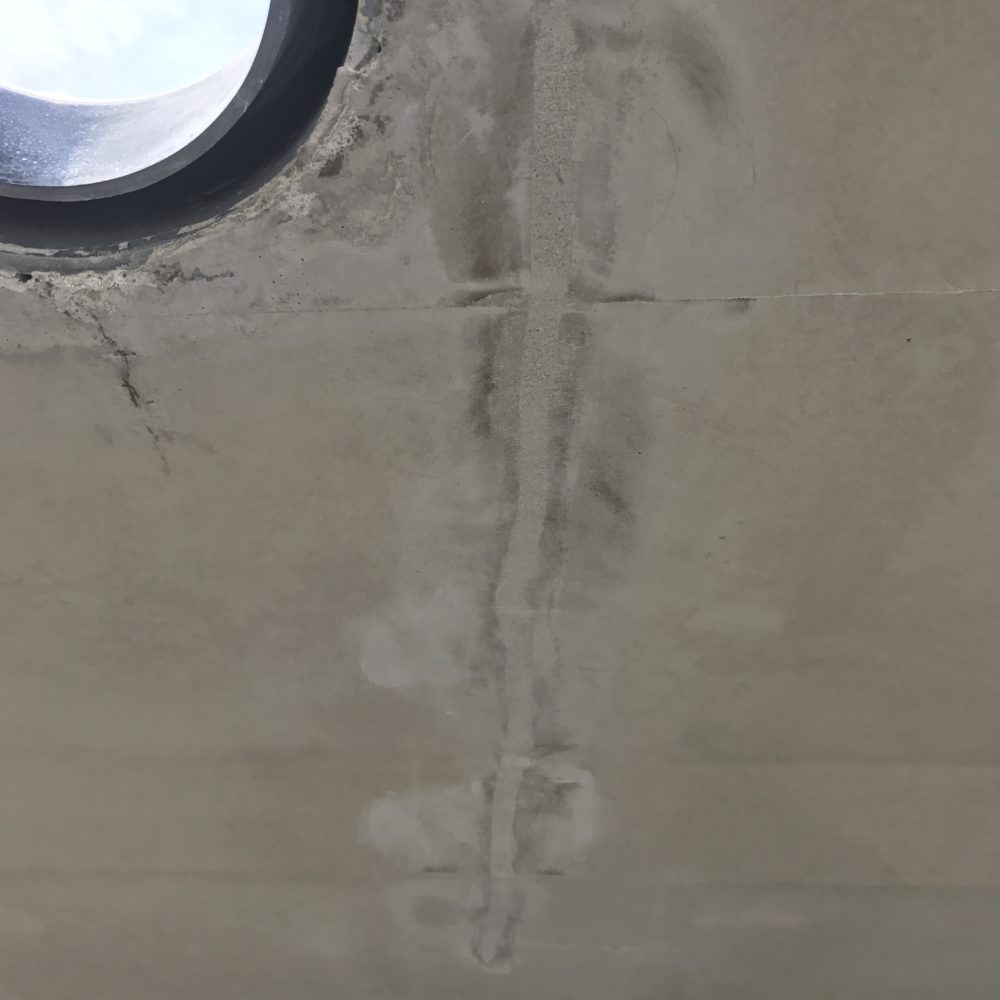
Cut V along the crack.
STEP2
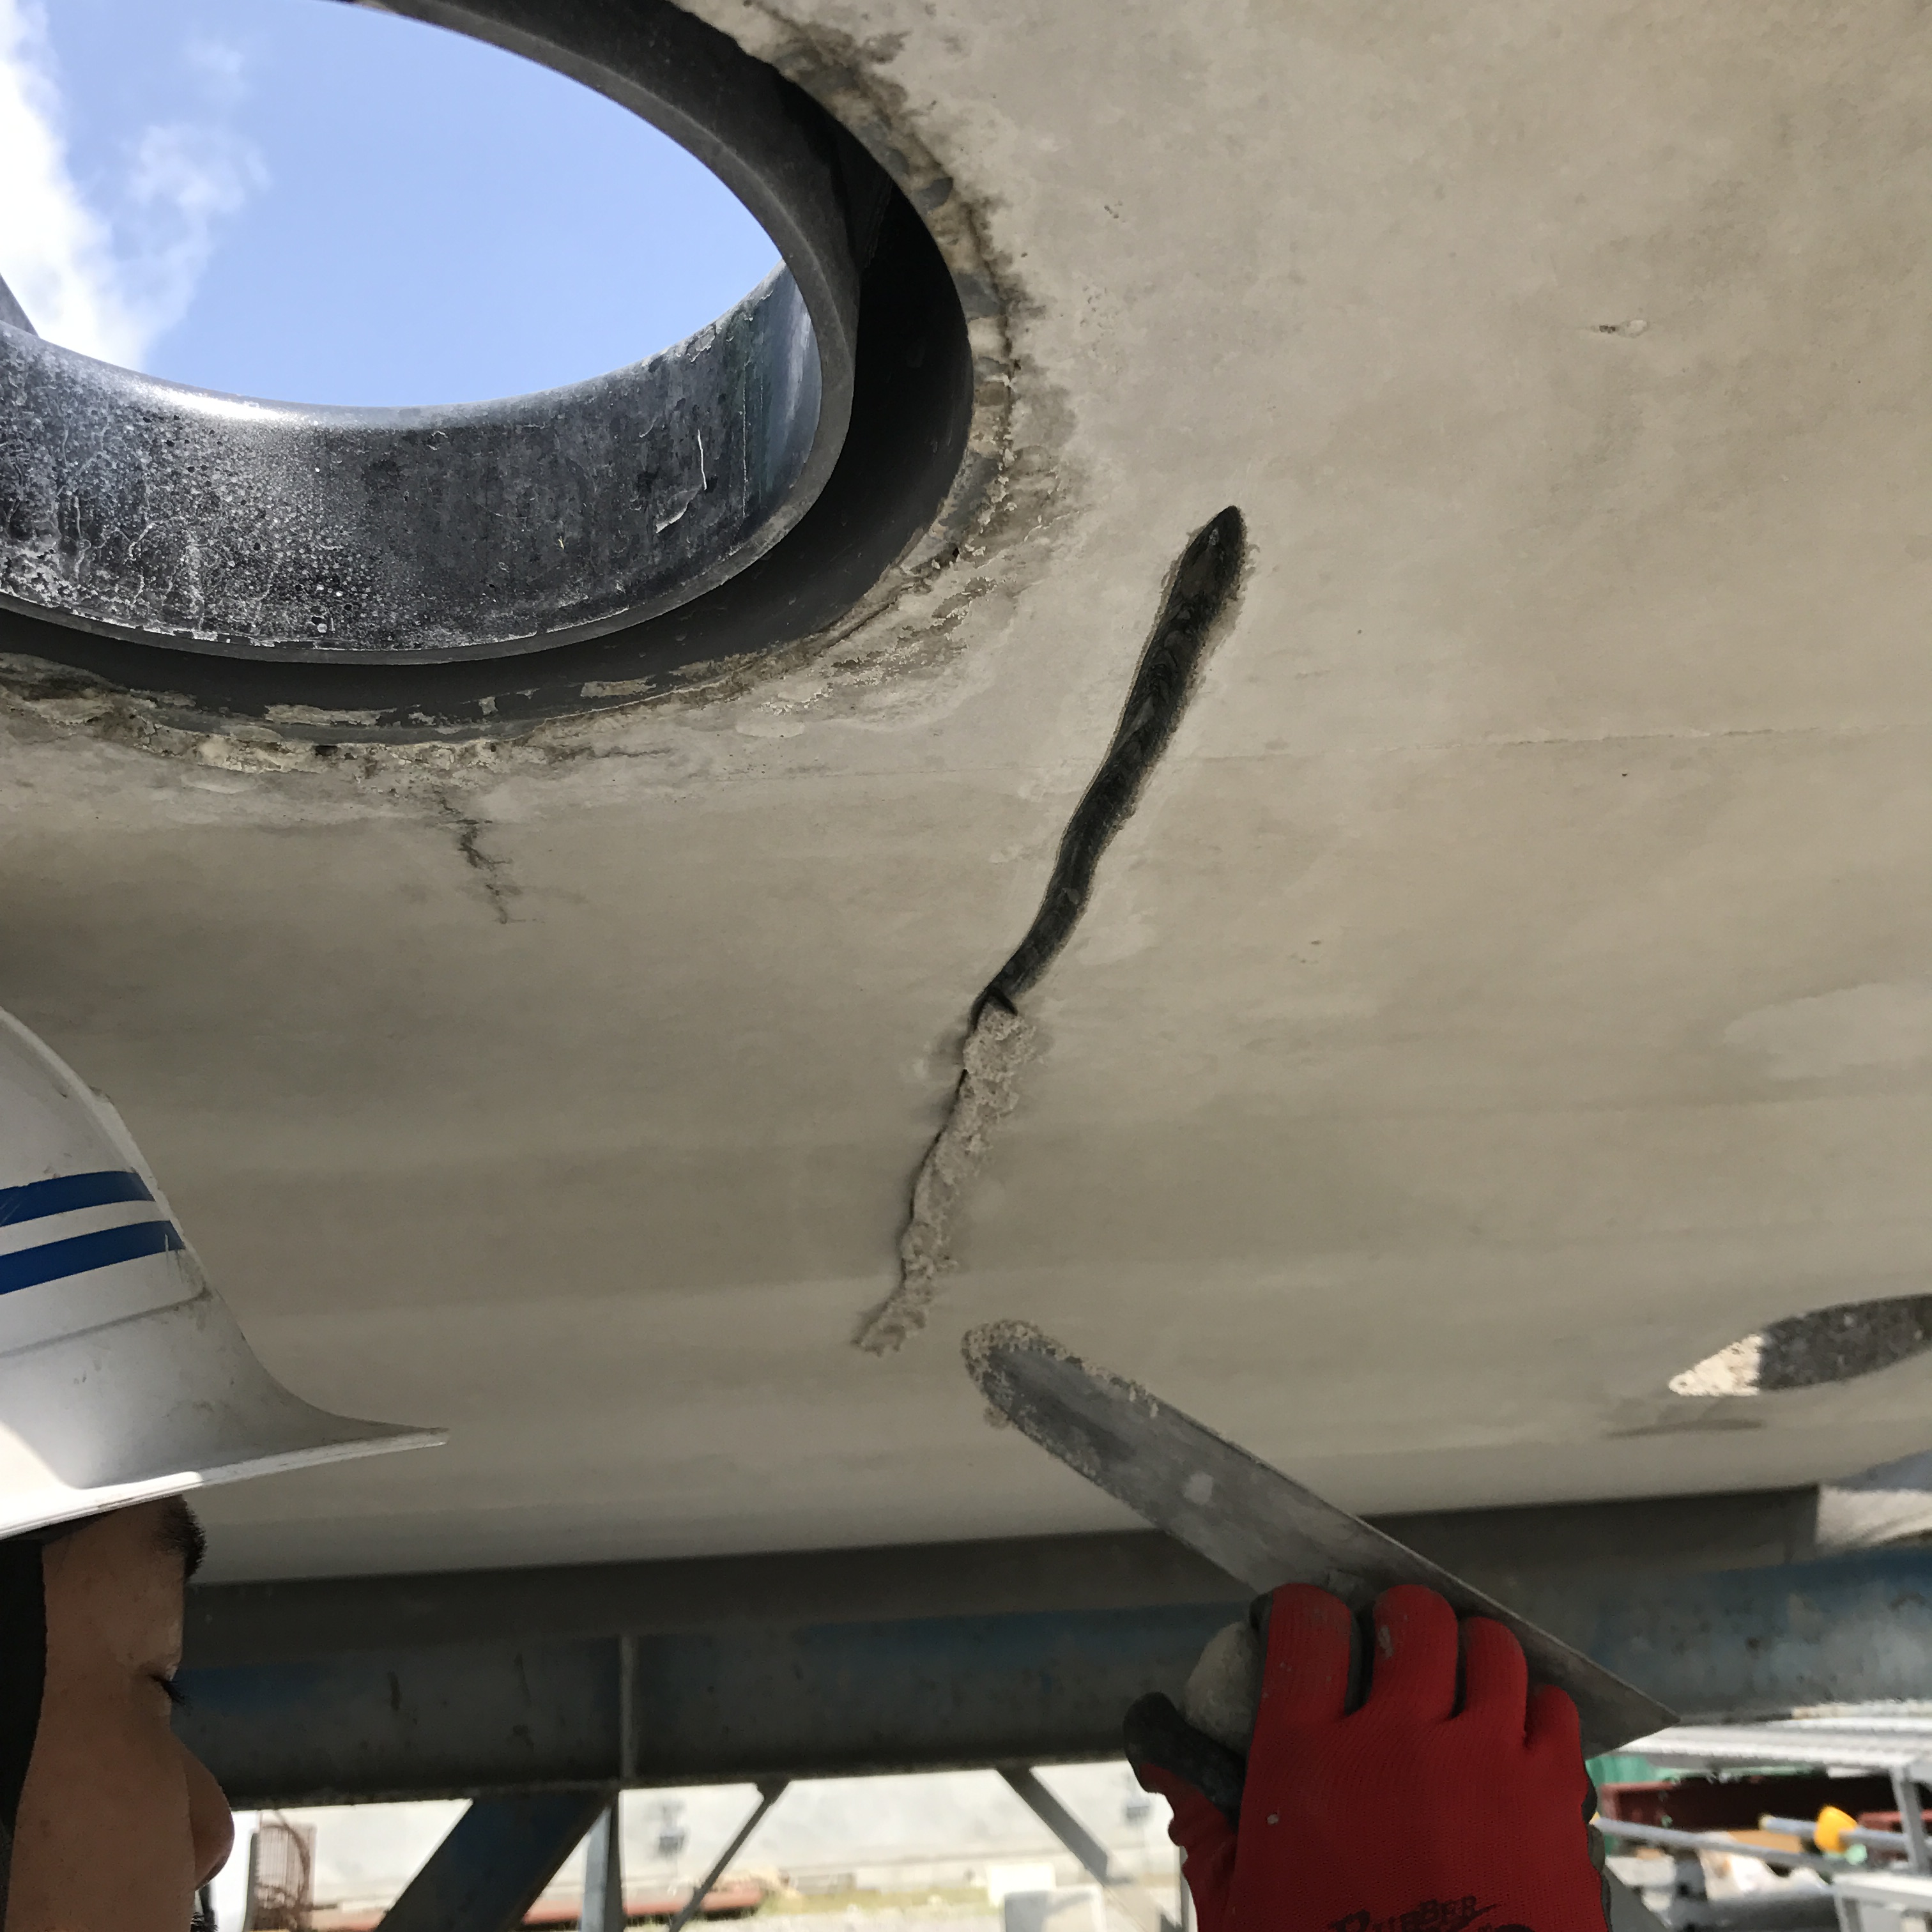
Completely remove dust with a Wire Brush, electric blower, etc., and apply a resin primer. (The photo uses Alpron W-305)
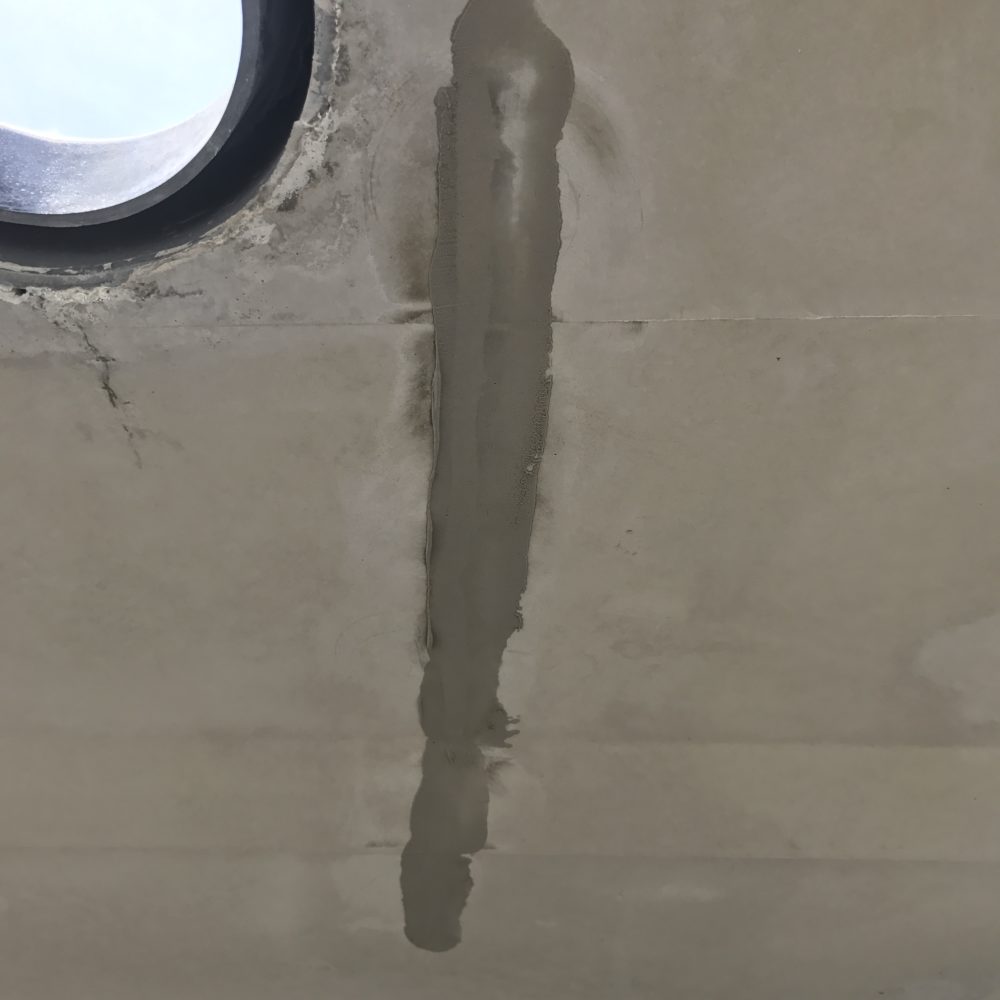
Fill the resin mortar (the photo uses Alpron HM) so that air does not enter.
* The point is to serve it about 1 mm higher than the surroundings.
STEP3
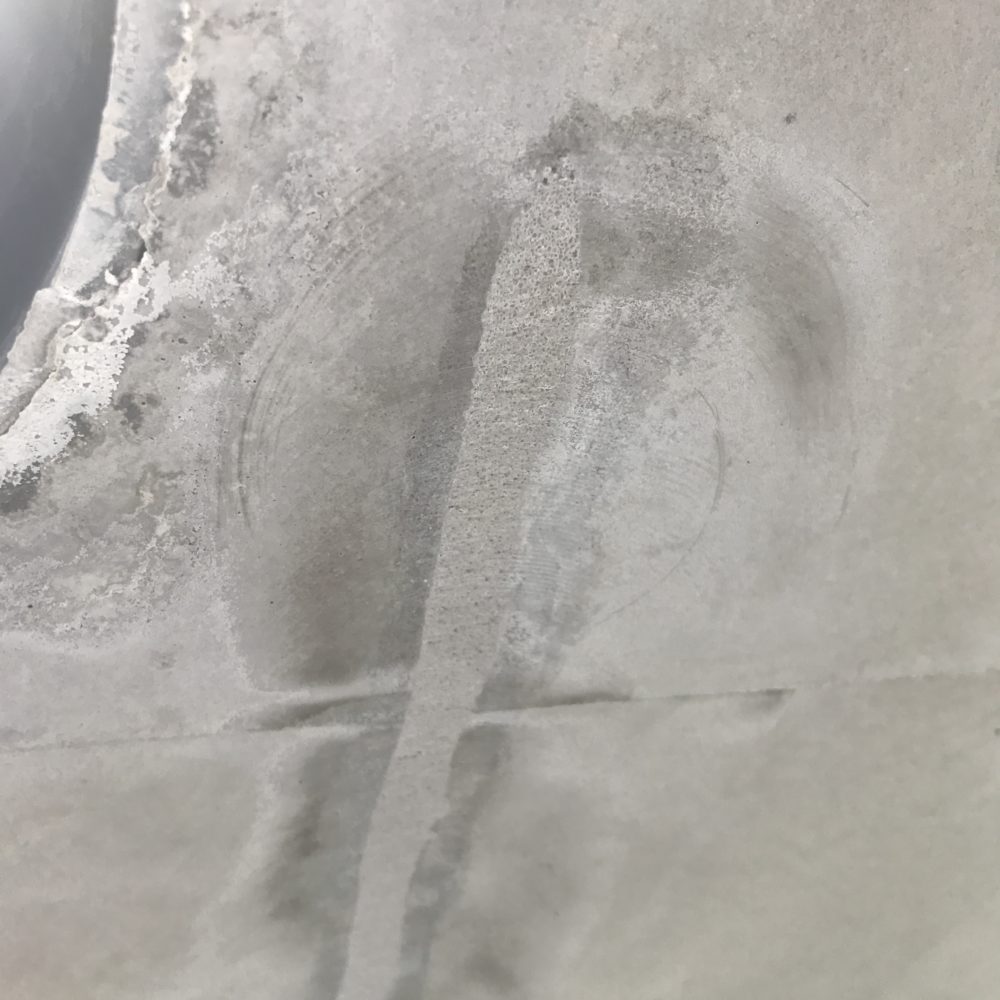
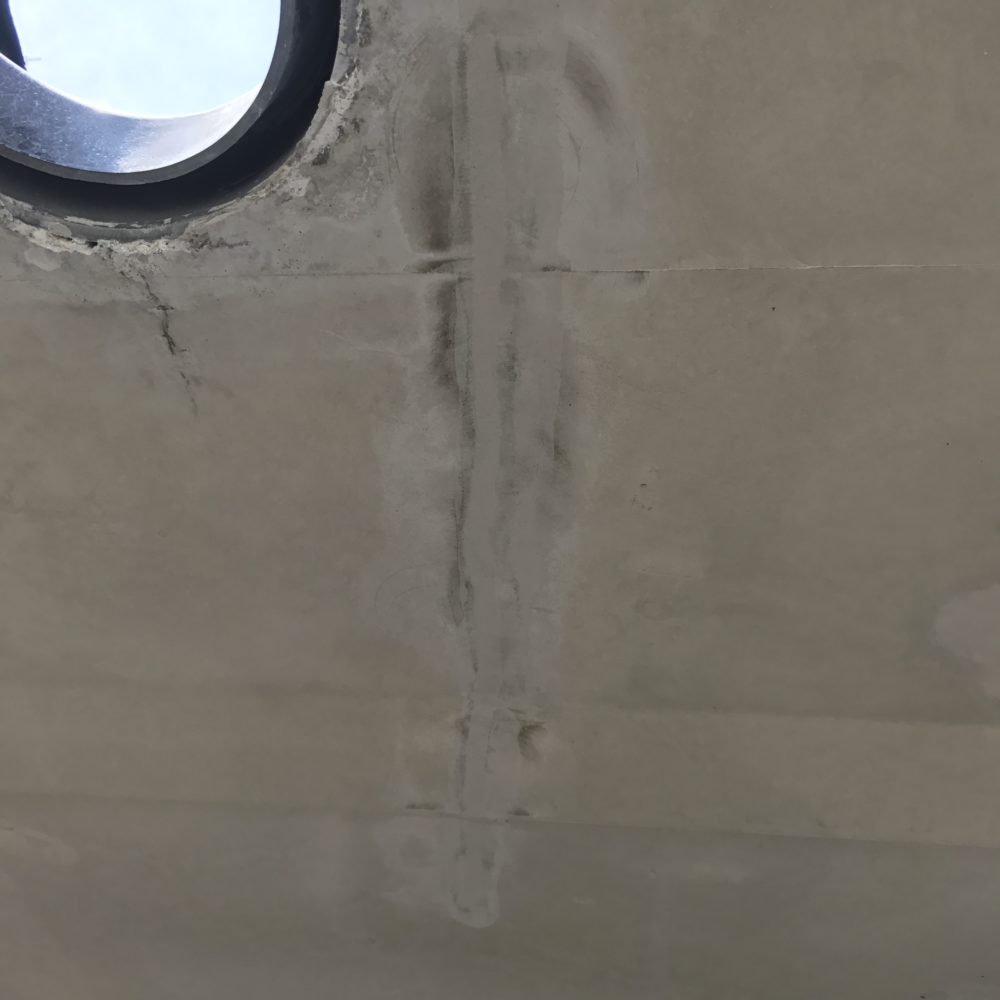
After about 2 hours, confirm that it is completely hardening.
Once hardening, use a # 36 grindstone to polishing it so that it is flat with the surrounding area.
STEP4
After cleaning, apply a primer and apply a repair material.
It is an image that fills small dents.
STEP5
When the repair material is half-dried, scrape off excess repair material with a scraper .
Rub it with # 600 paper so that there are no leftovers.
STEP6
Trowel-coating the lining material over the Primer.
It is evenly flattening by applying a lining material .
When the lining material is completely dry, use scraper # 600 paper to blend in any excess trowel marks or borders with the surrounding area.
That's all for the groundwork.
STEP7
Let's add color.
At first, spray a little and check the color. Let's add it little by little while drying.
There is no discomfort with the surroundings, and it is OK when the groundwork disappears.
completion
Add a pattern.
First, apply # 600 sandpaper to the surface.
stain and pattern to eliminate discomfort with the surroundings.
If there is no discomfort, it is complete.
State before construction
What you can buy at our shop
-
 C Repair Color (each color separately)
-
 C Repair Color (7colors set)
-
 Tone Color (Black, Yellow, Red)
-
 Repair Resin (each color, each number)
-
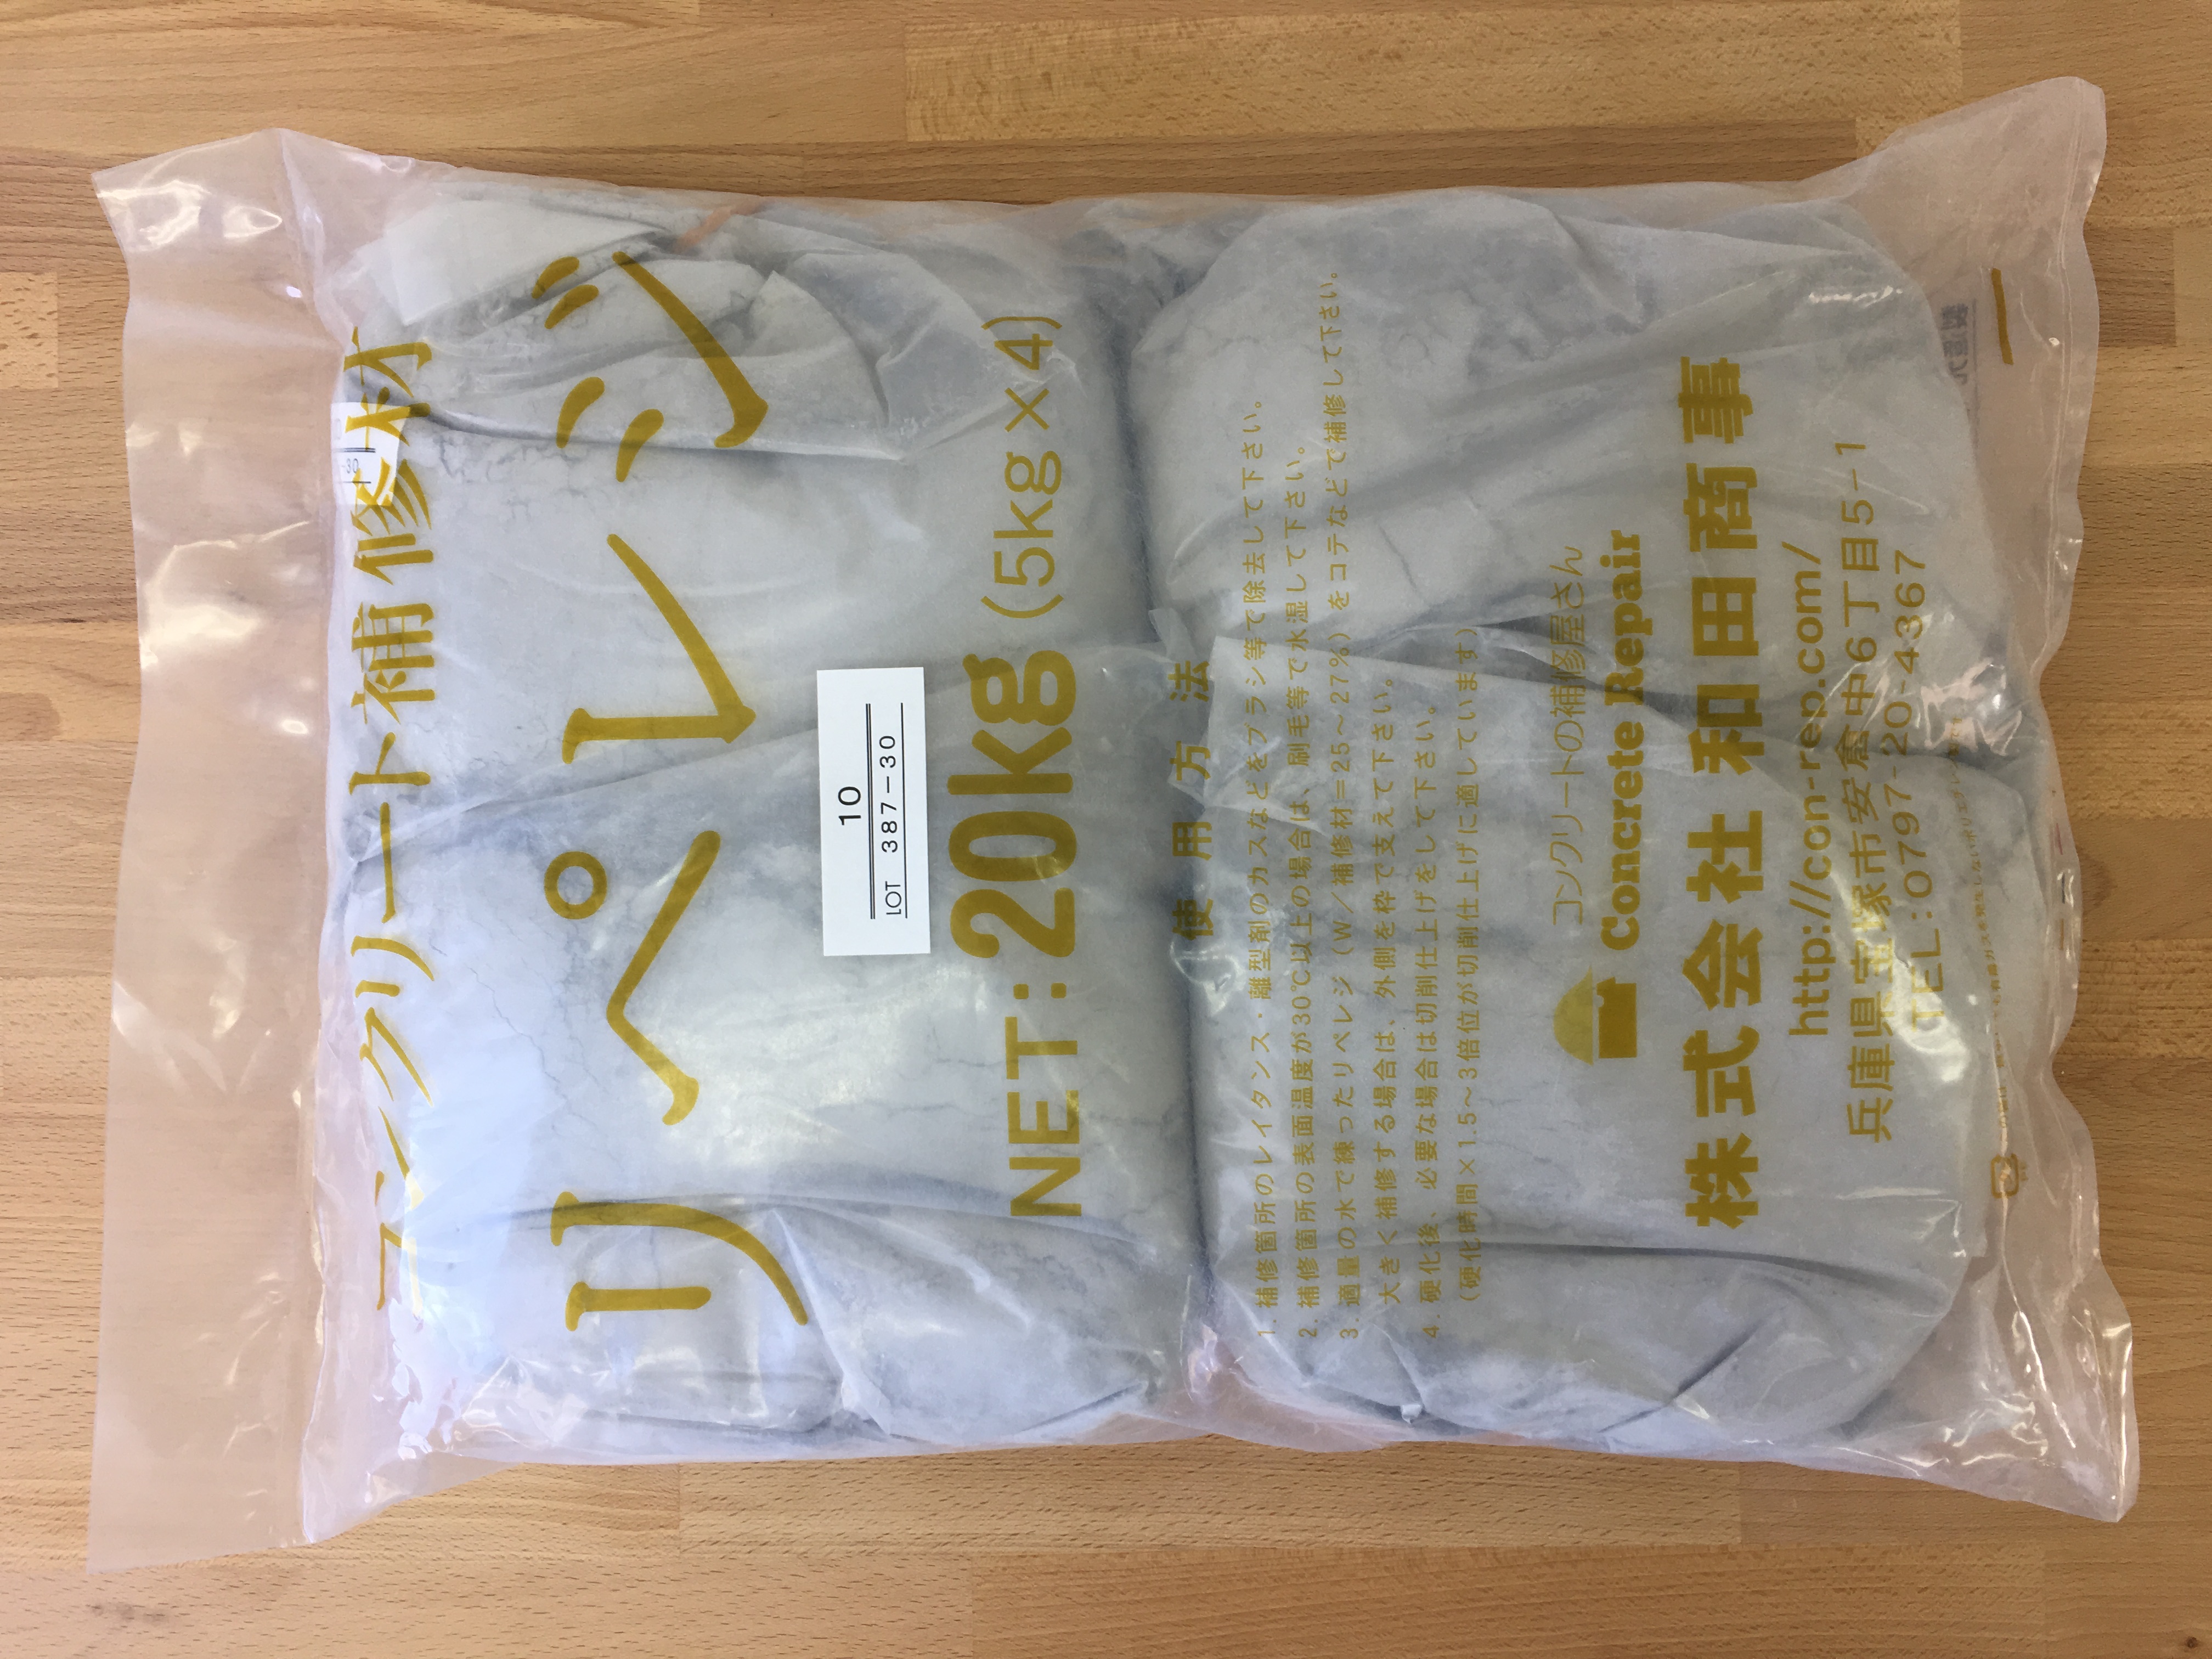
 C Repair Lining
-
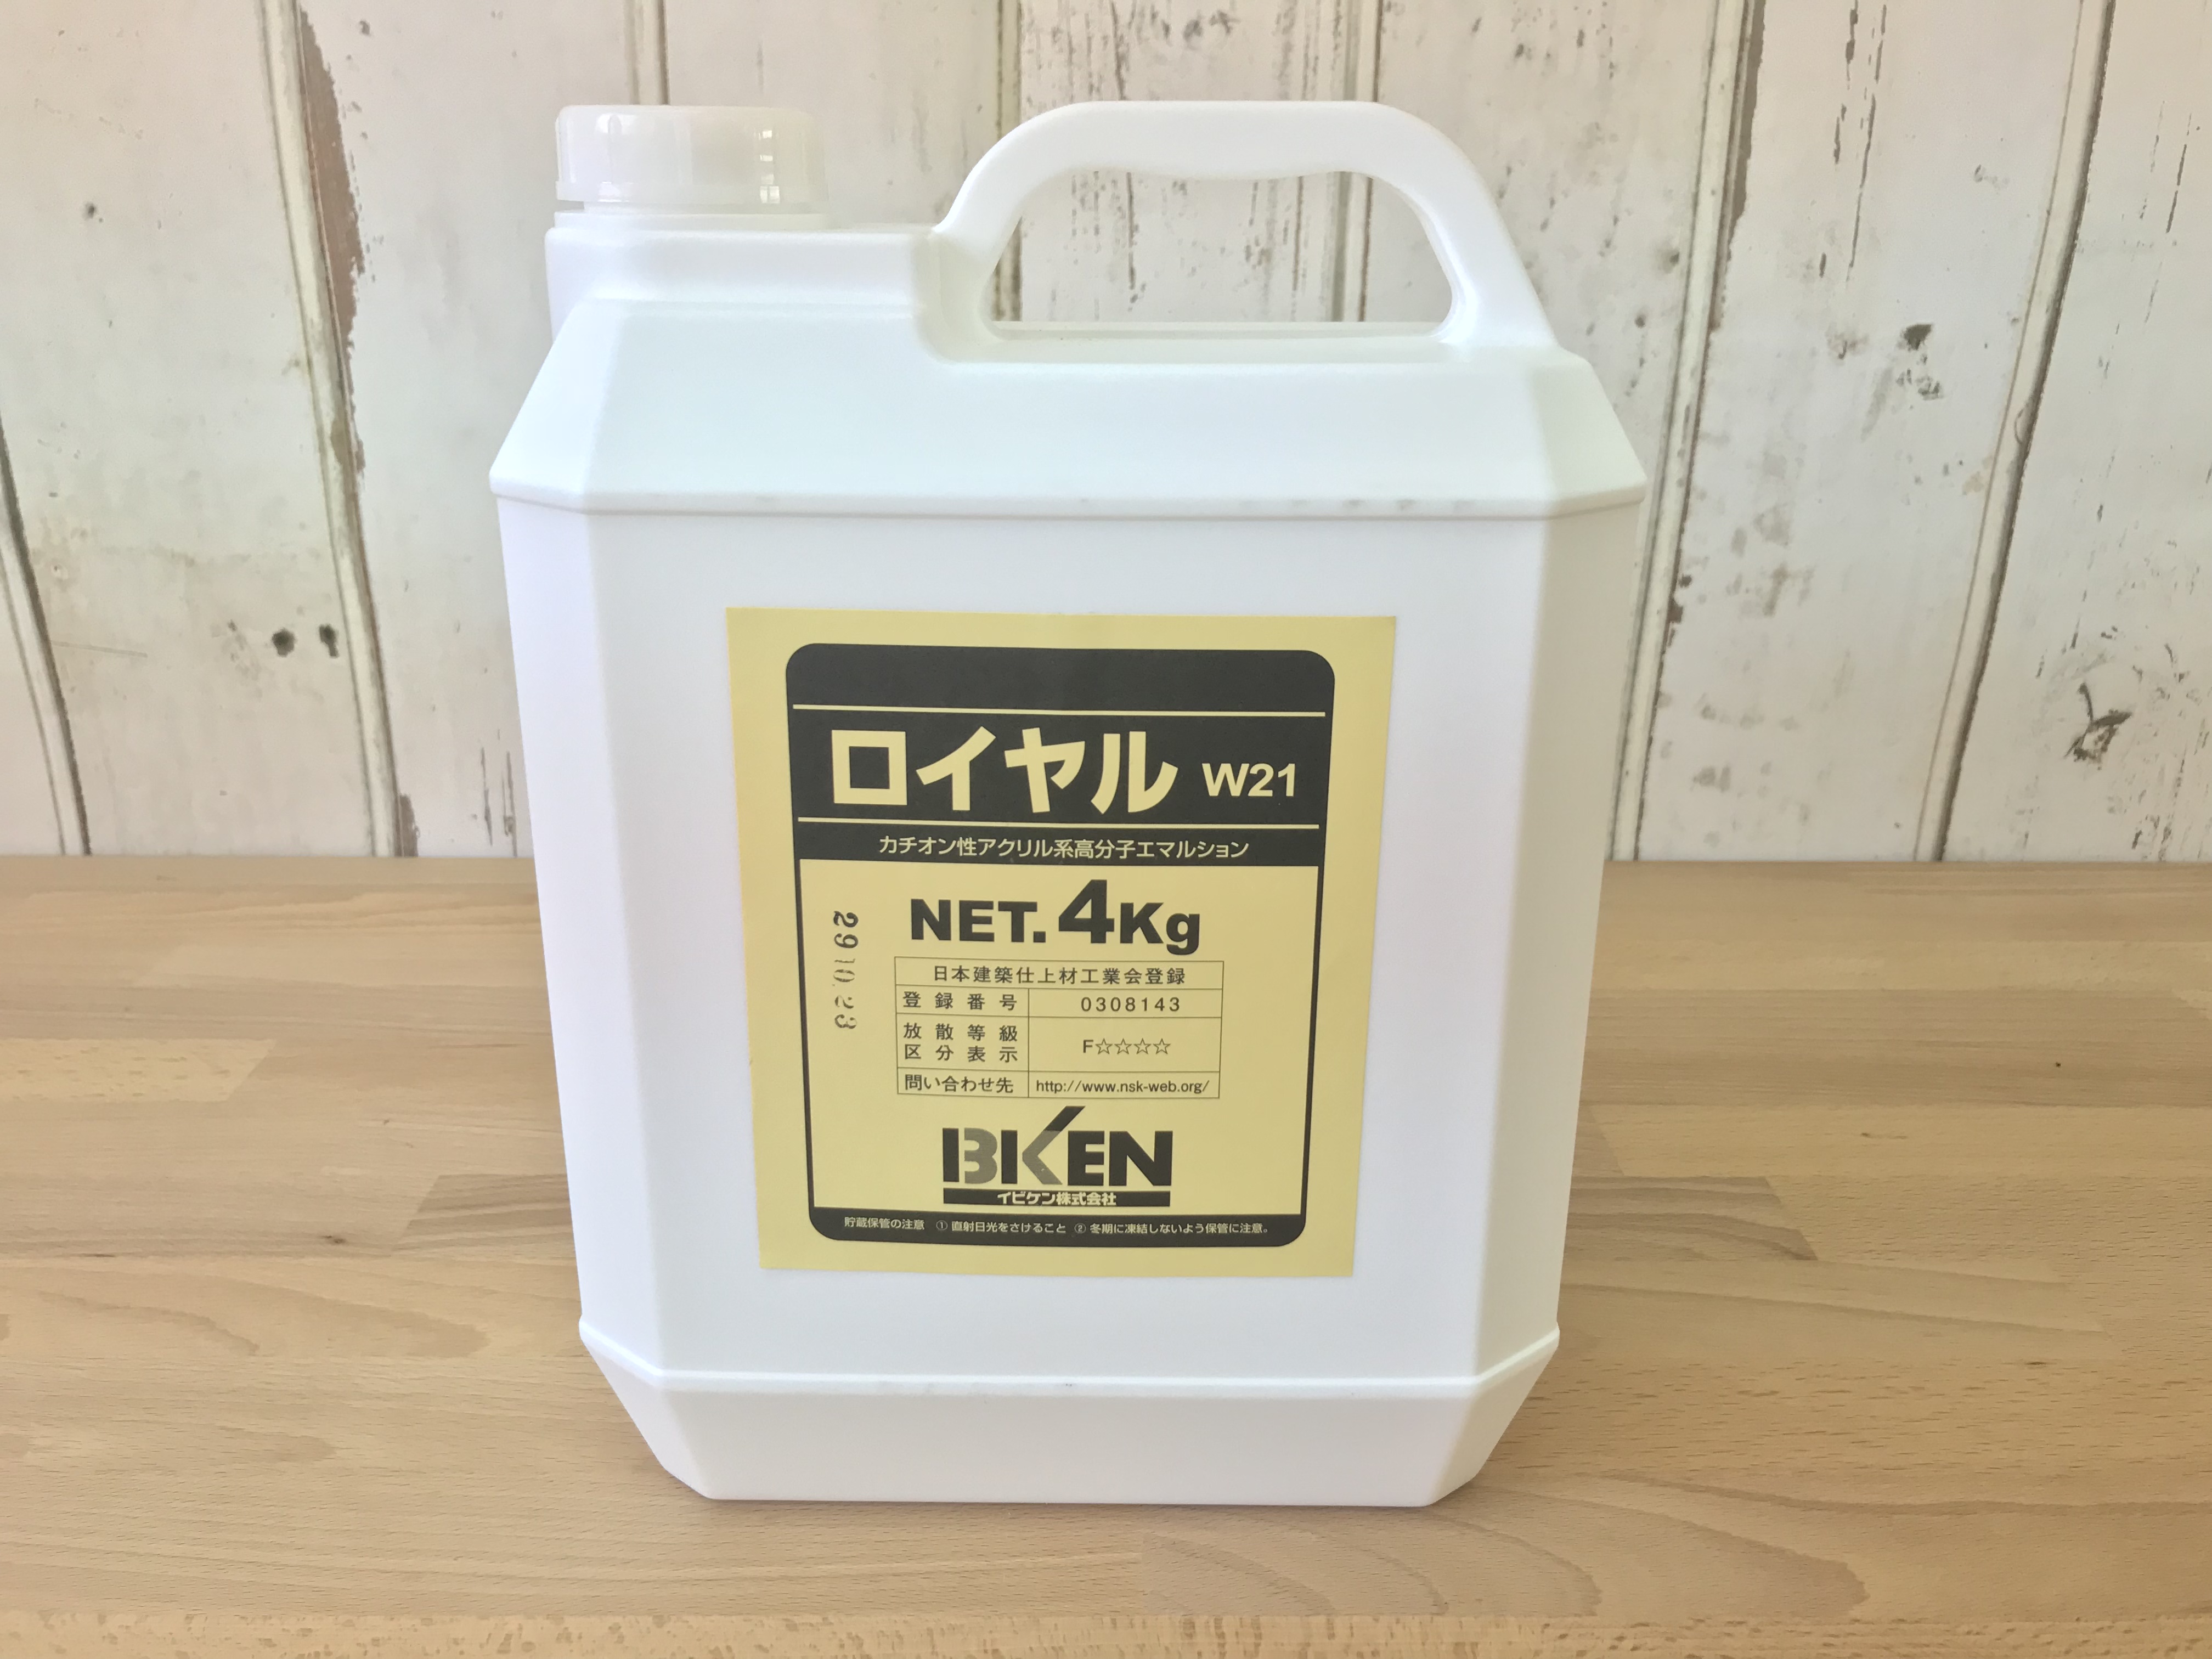 Cationic substrate adjustment primer "Royal W21"
-
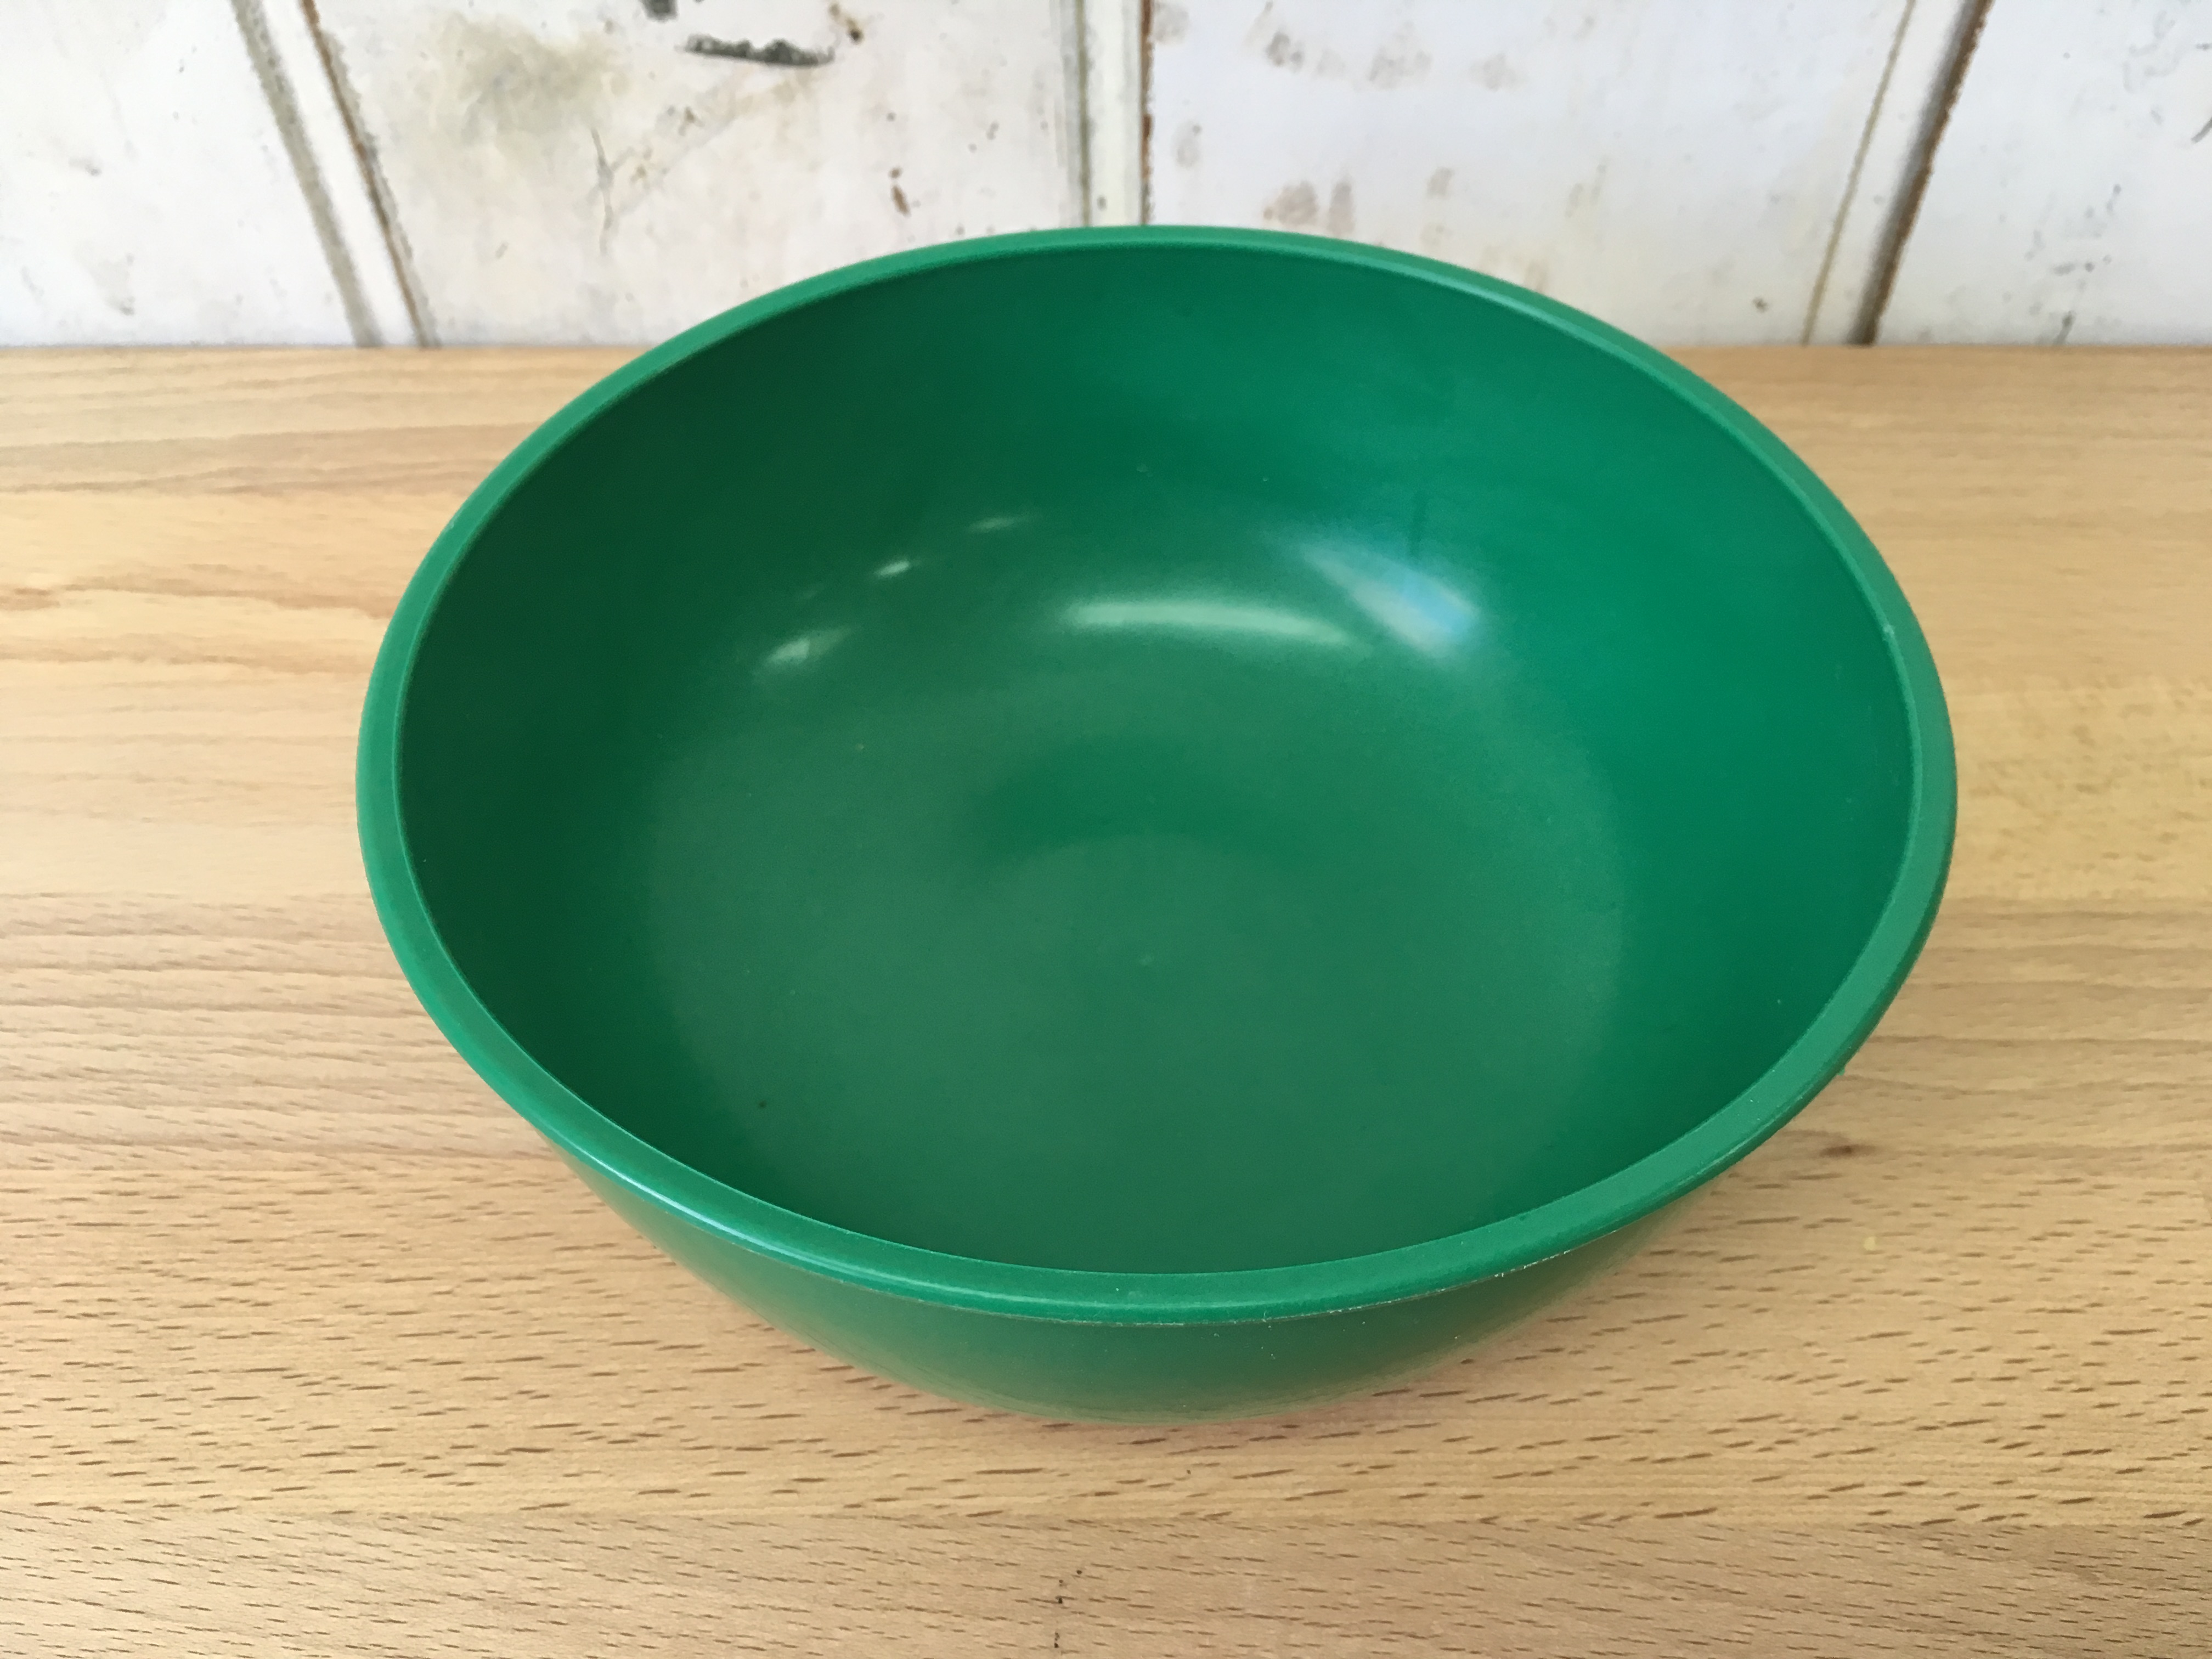 Rubber Bowl
-
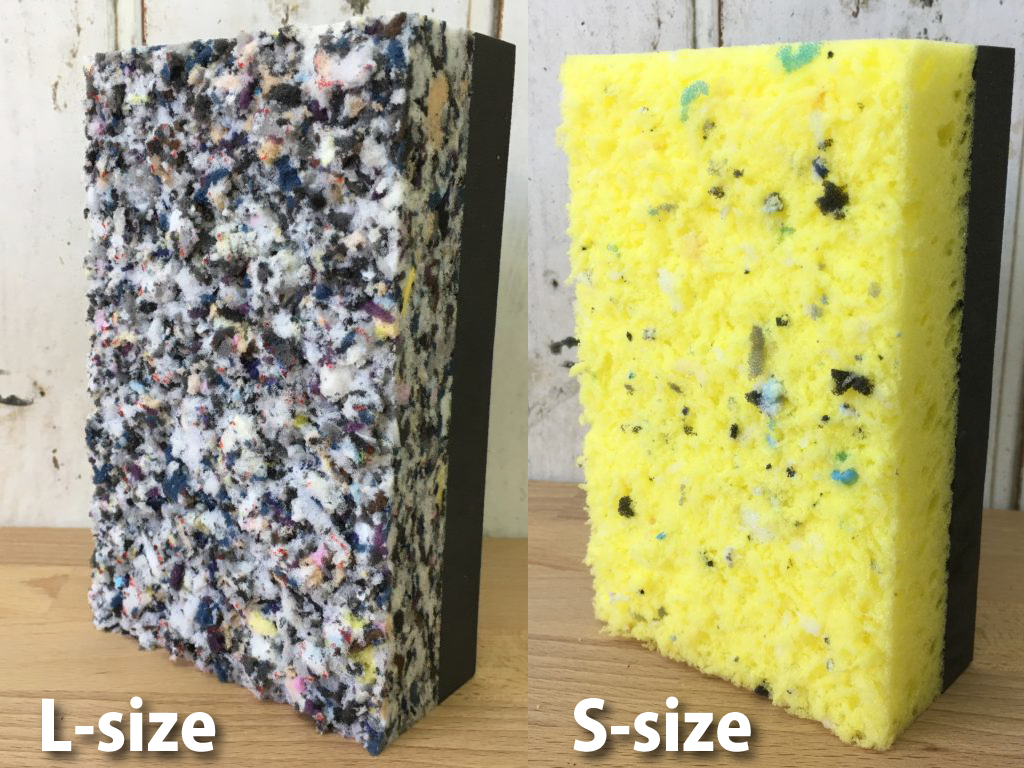 Pattern Pad (Large / Small)
-
 Wagner Flexio 570 Electric Spray Gun
-
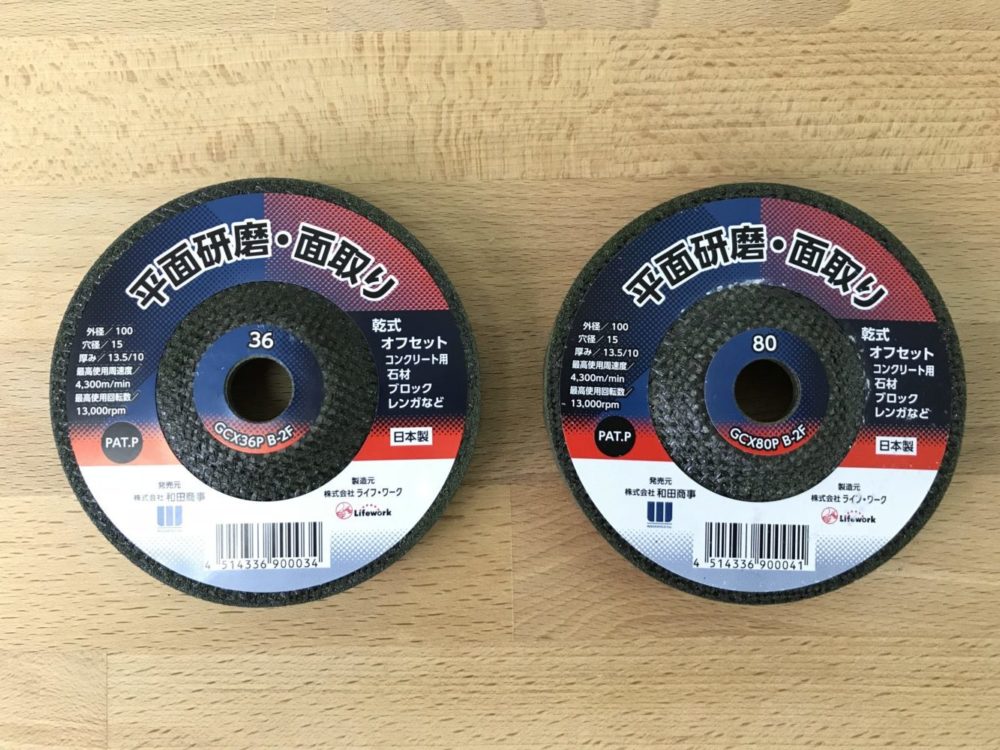 Level Grinding Wheel # 36 # 80