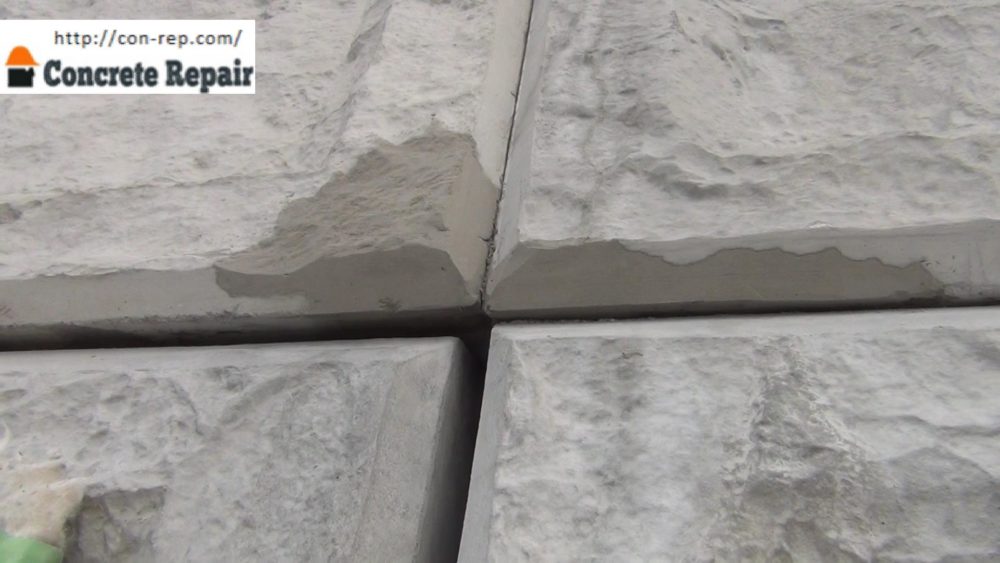
Chip repair using cement-based repair material

・ Repair Resin
・ C Repair Lining
・ C Repair Color
・ Tone Color
・ Rubber Bowl
・ Wagner Flexio
・ Pattern Pad
STEP1

Clean to remove dust and debris.
STEP2
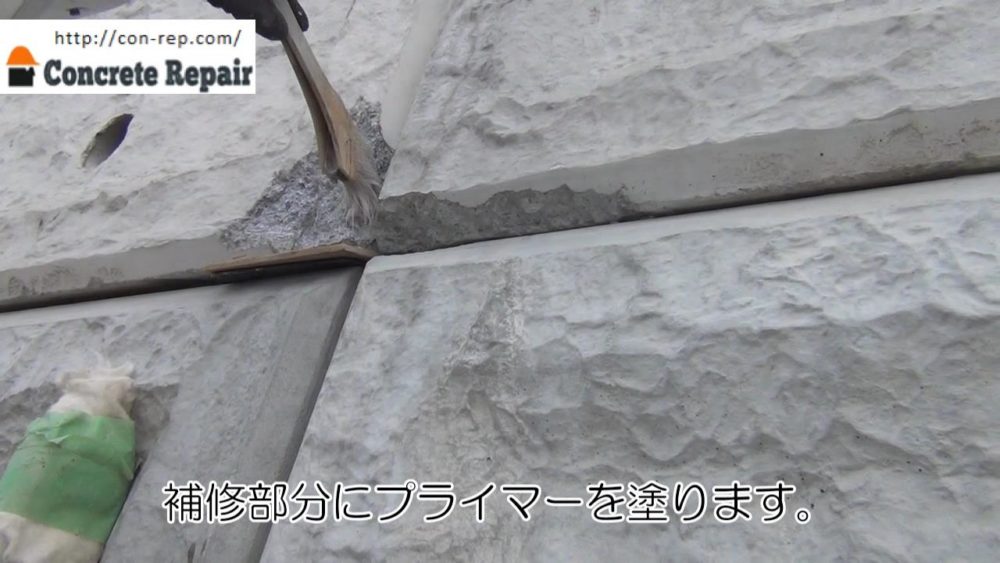
Trowel-coating the primer evenly to the repaired area.
STEP3
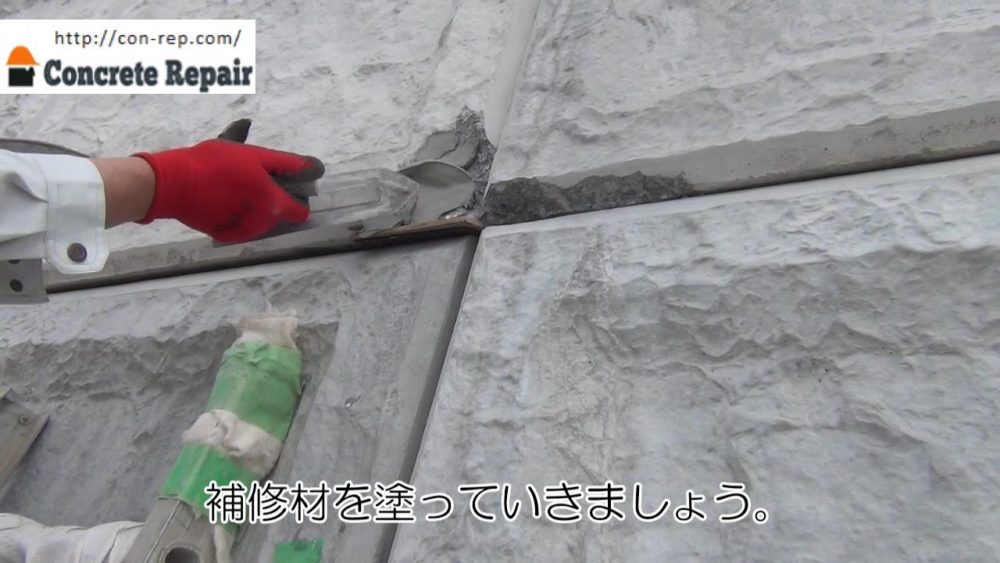
Let's apply the slightly hardened Repair Resin with a Metal trowel for intermediate trowel-coating .
* Adhesion will be even better if you "stick" with your finger.
STEP4
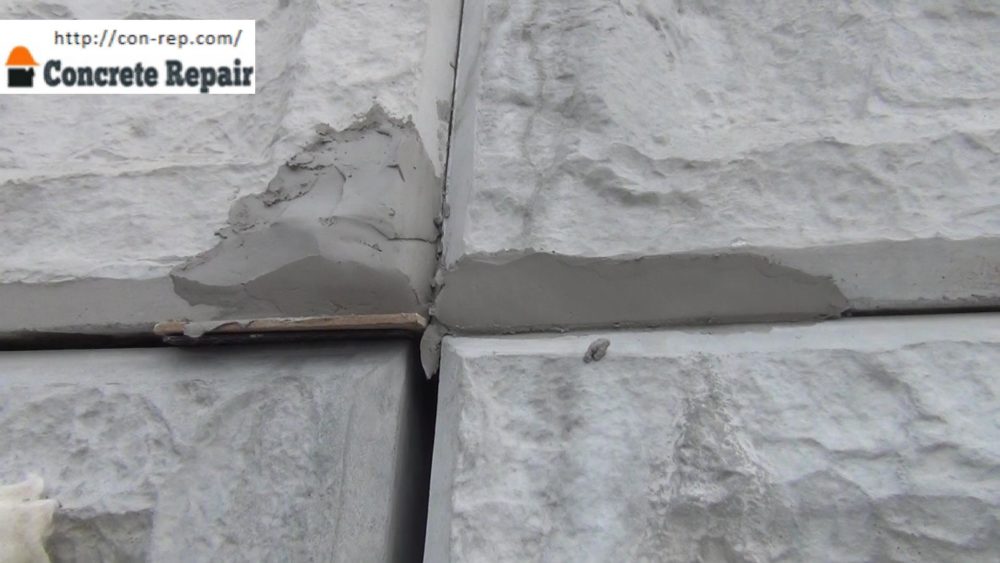
Trowel-coating a little more than the finished surface and wait for it to hardening.
* It will start to harden in 2 to 3 minutes in the summer.
STEP5
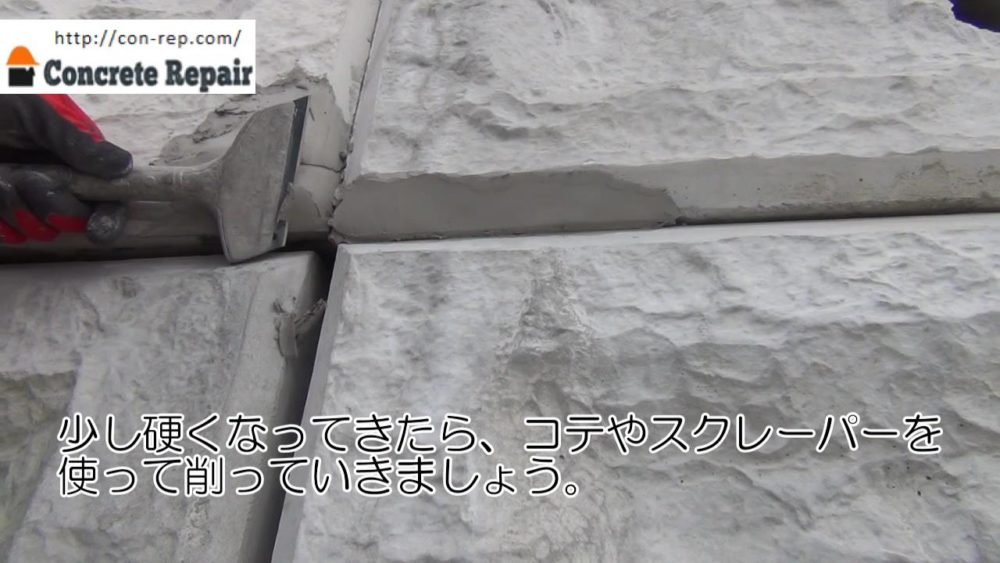
Use a Metal trowel or scraper to scrape it little by little.
In particular, sharpen the edges so that they are firmly attached.
* Please note that it is difficult to scrape when it is completely hardened.
STEP6
After confirming that it has dried and hardening sufficiently, if necessary
trowel-coating the lining material .
* Omitted in the case shown in the photo.
STEP7
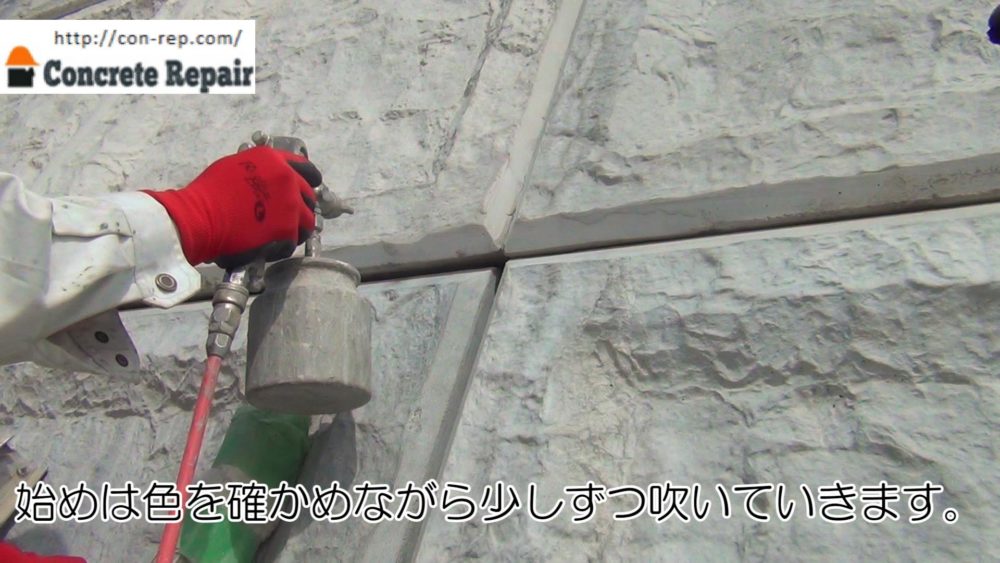
I will add color.
* First, spray a little and check the color. Let's add it little by little while drying.
completion
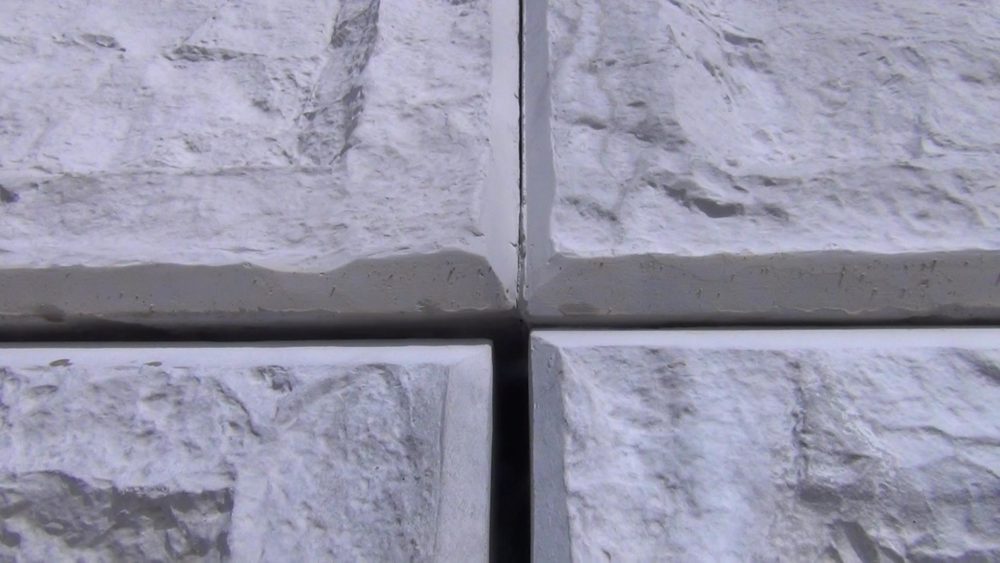
It is OK if there is no discomfort with the surroundings and the boundary with the base disappears.
Also, add pattern as needed.
It is omitted in the case shown in the photo.
 C Repair Color (each color separately)
 C Repair Color (7colors set)
 Tone Color (Black, Yellow, Red)
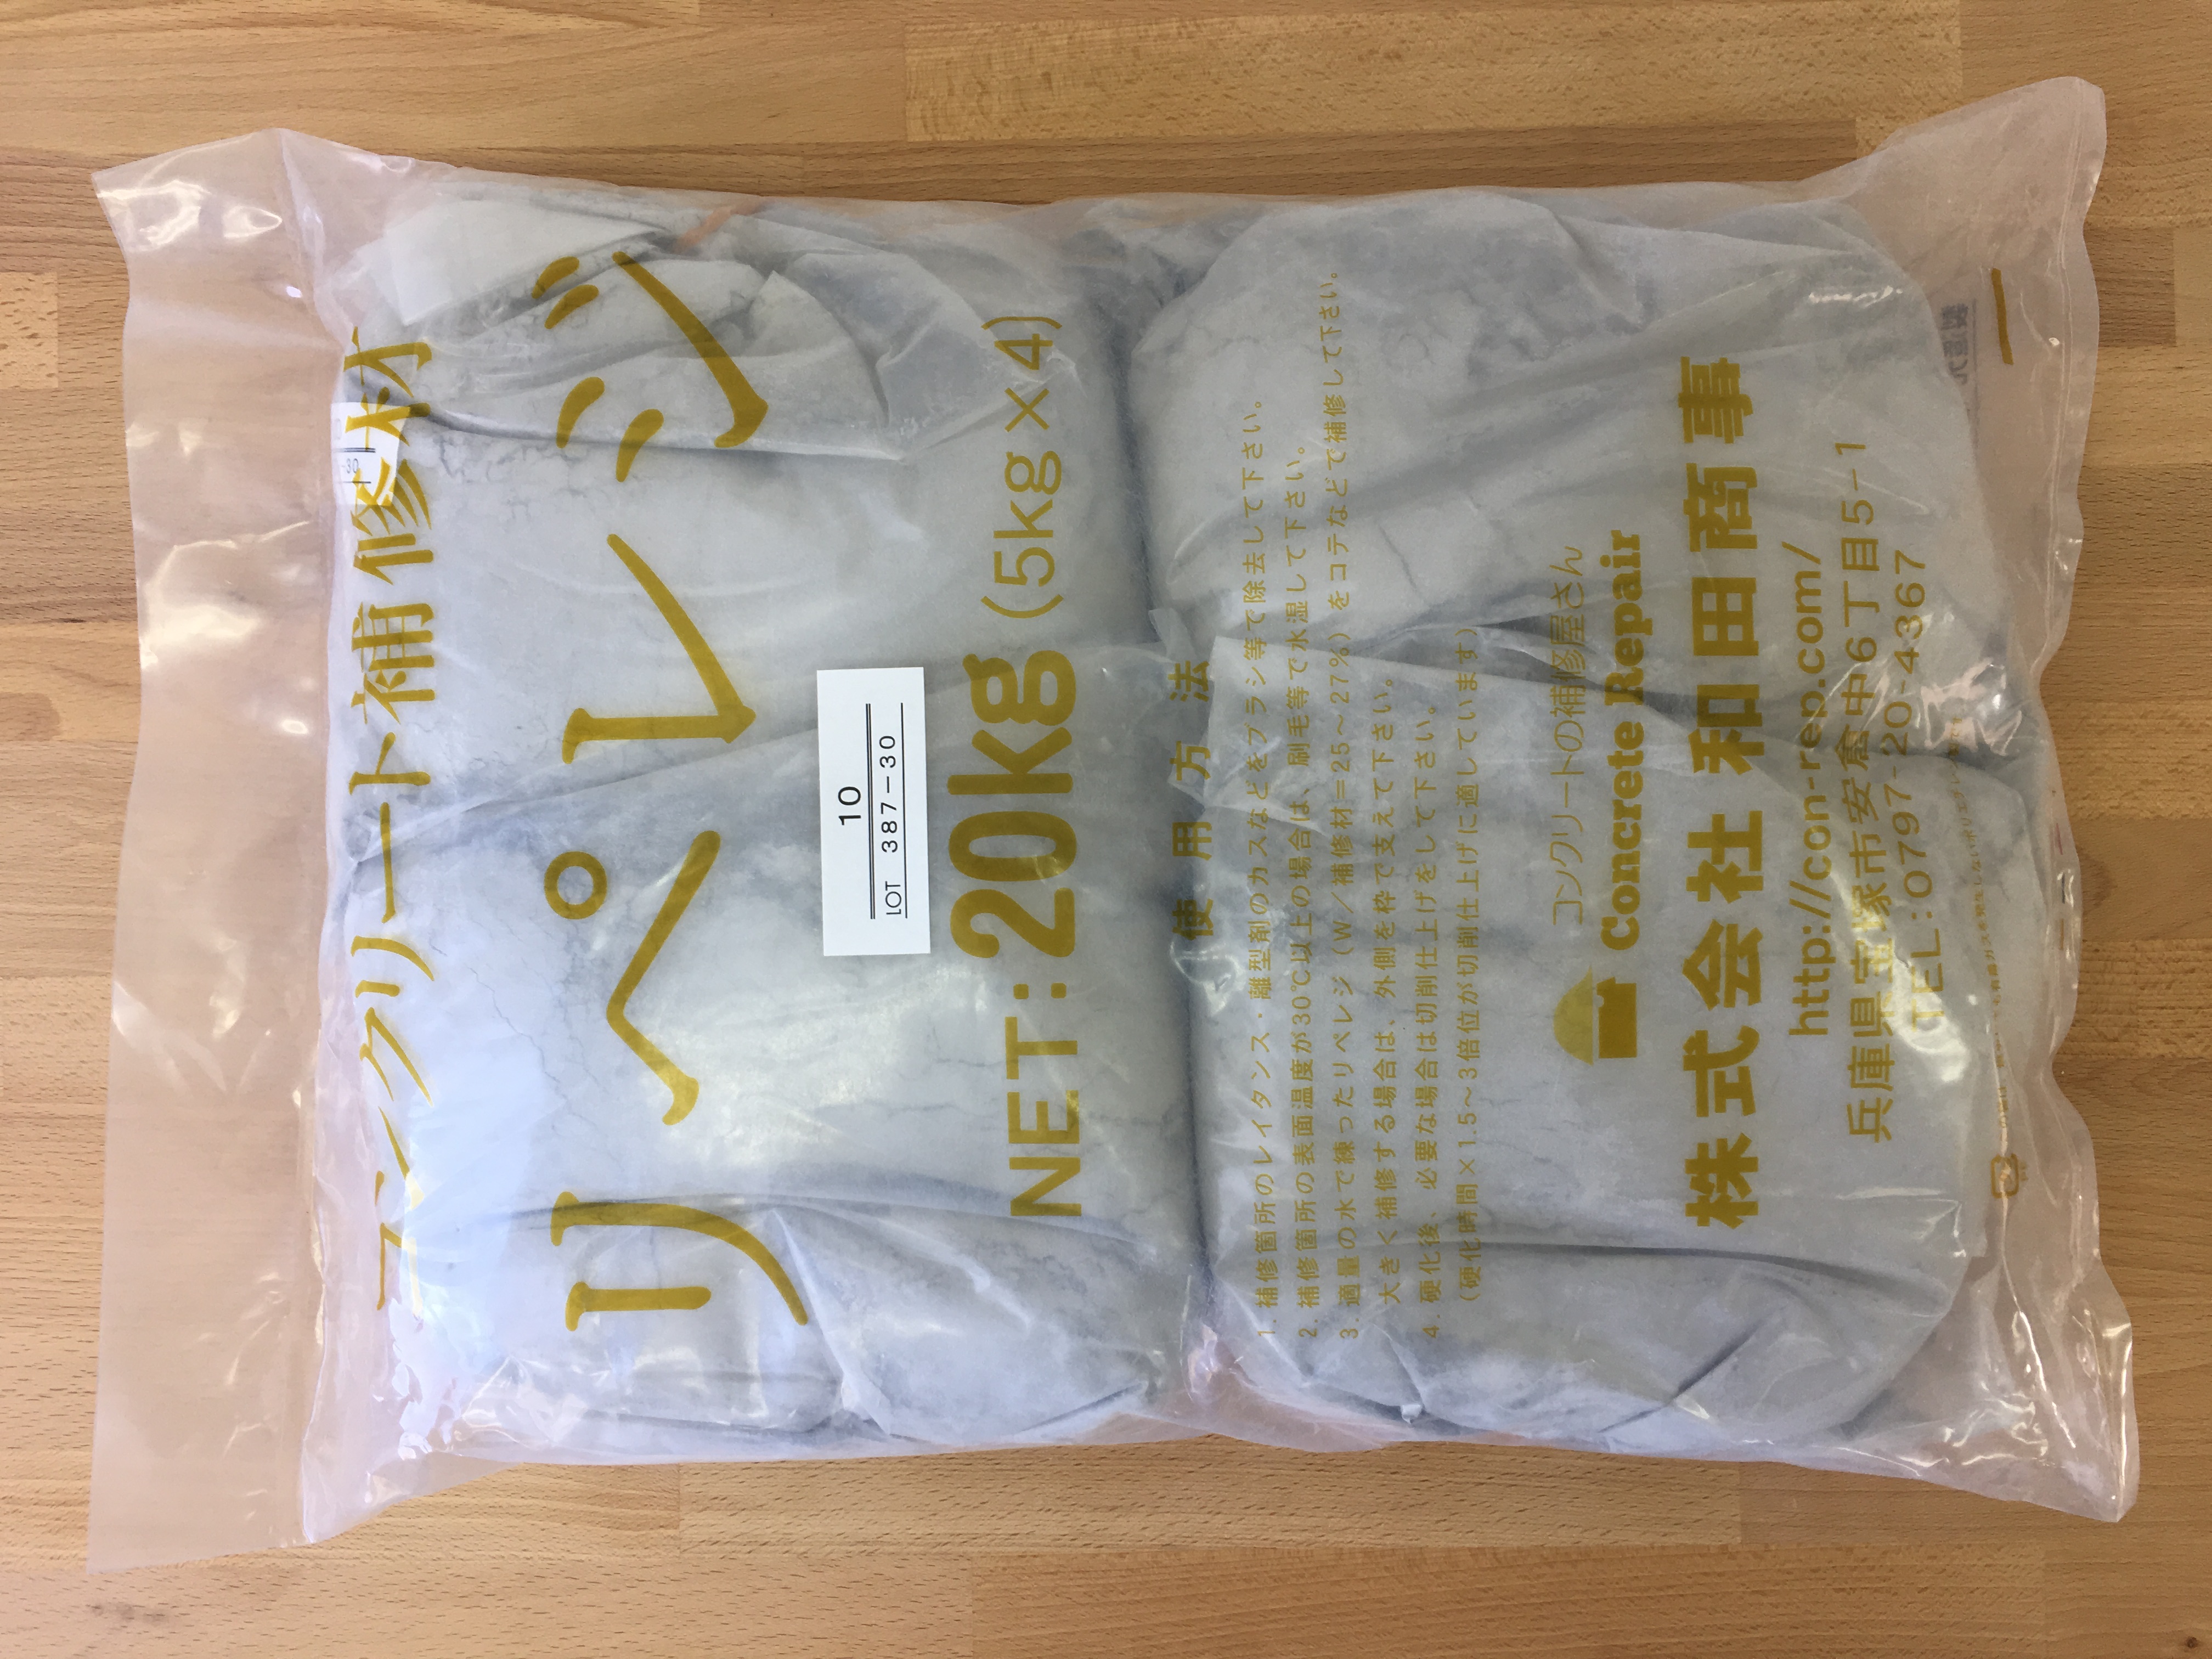 Repair Resin (each color, each number)
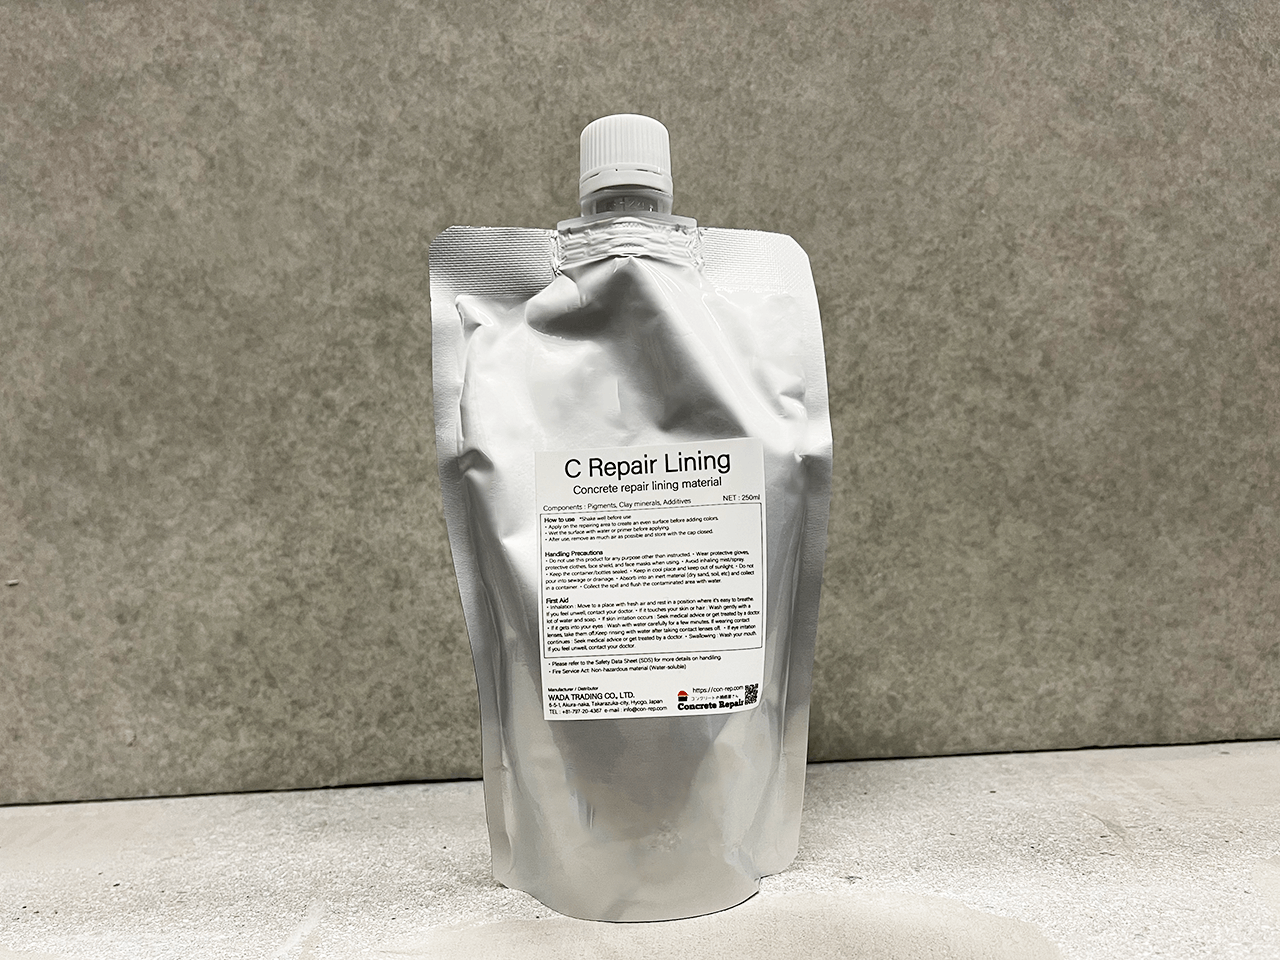 C Repair Lining
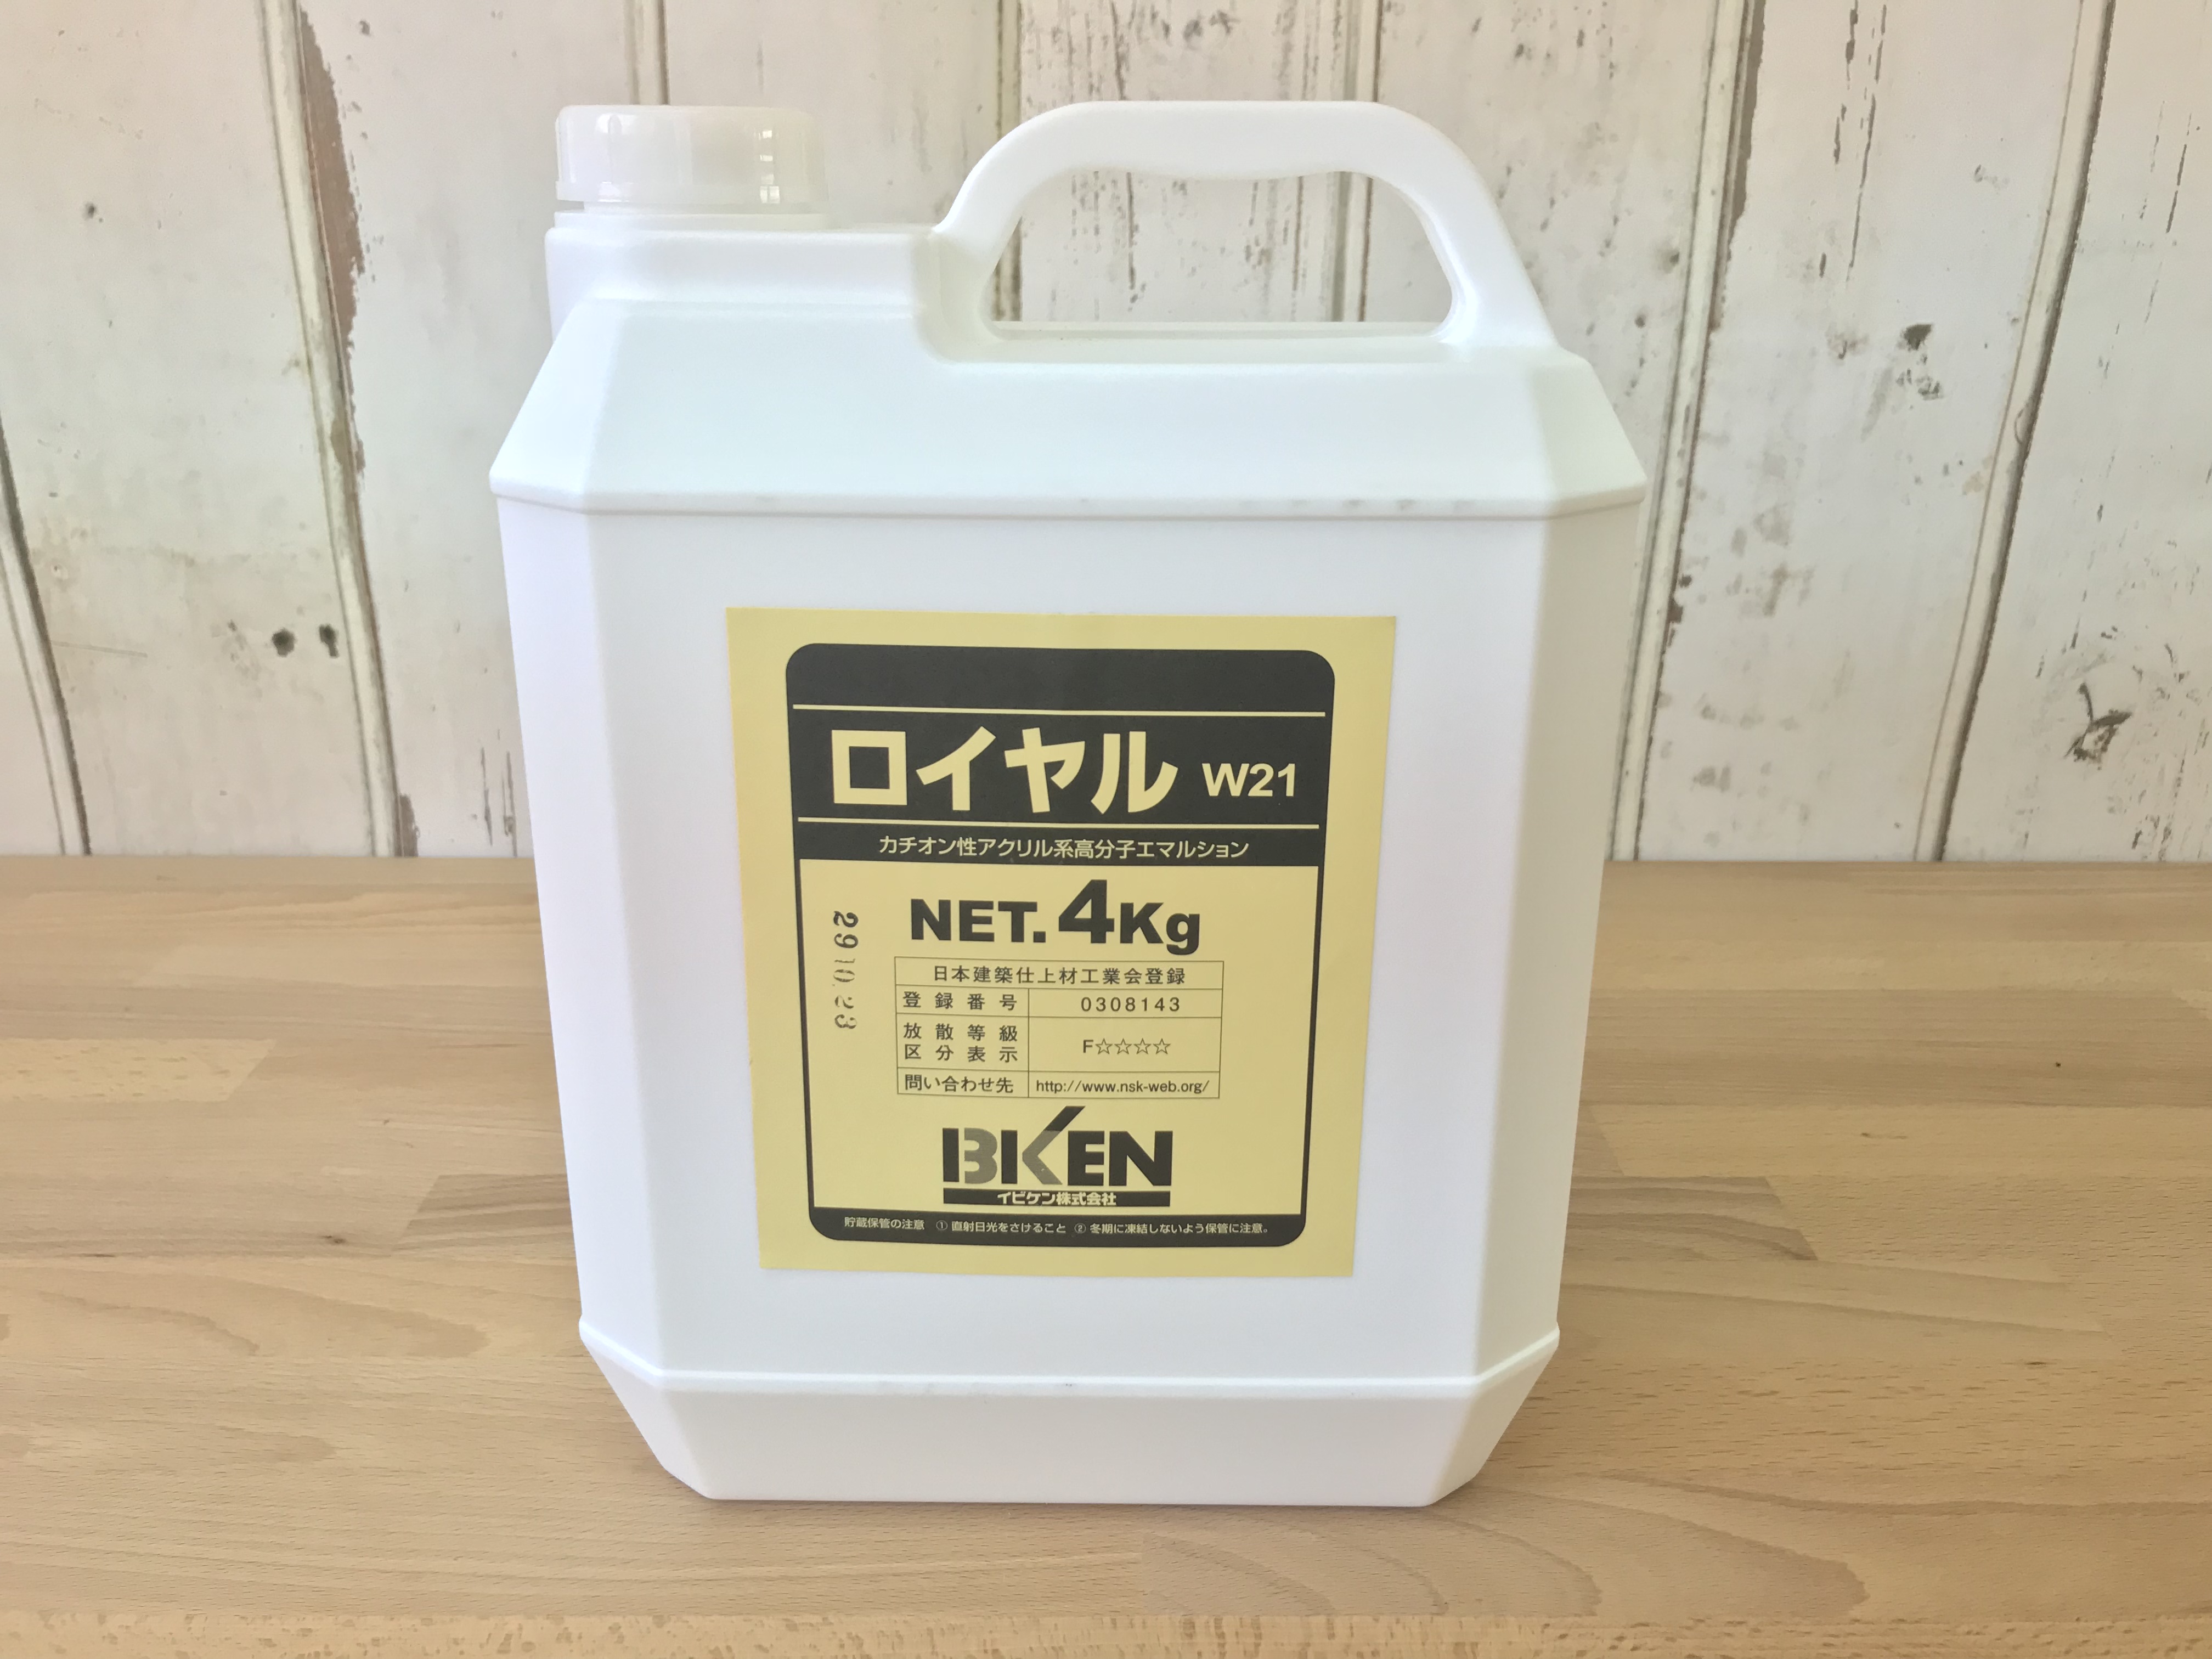 Cationic substrate adjustment primer "Royal W21"
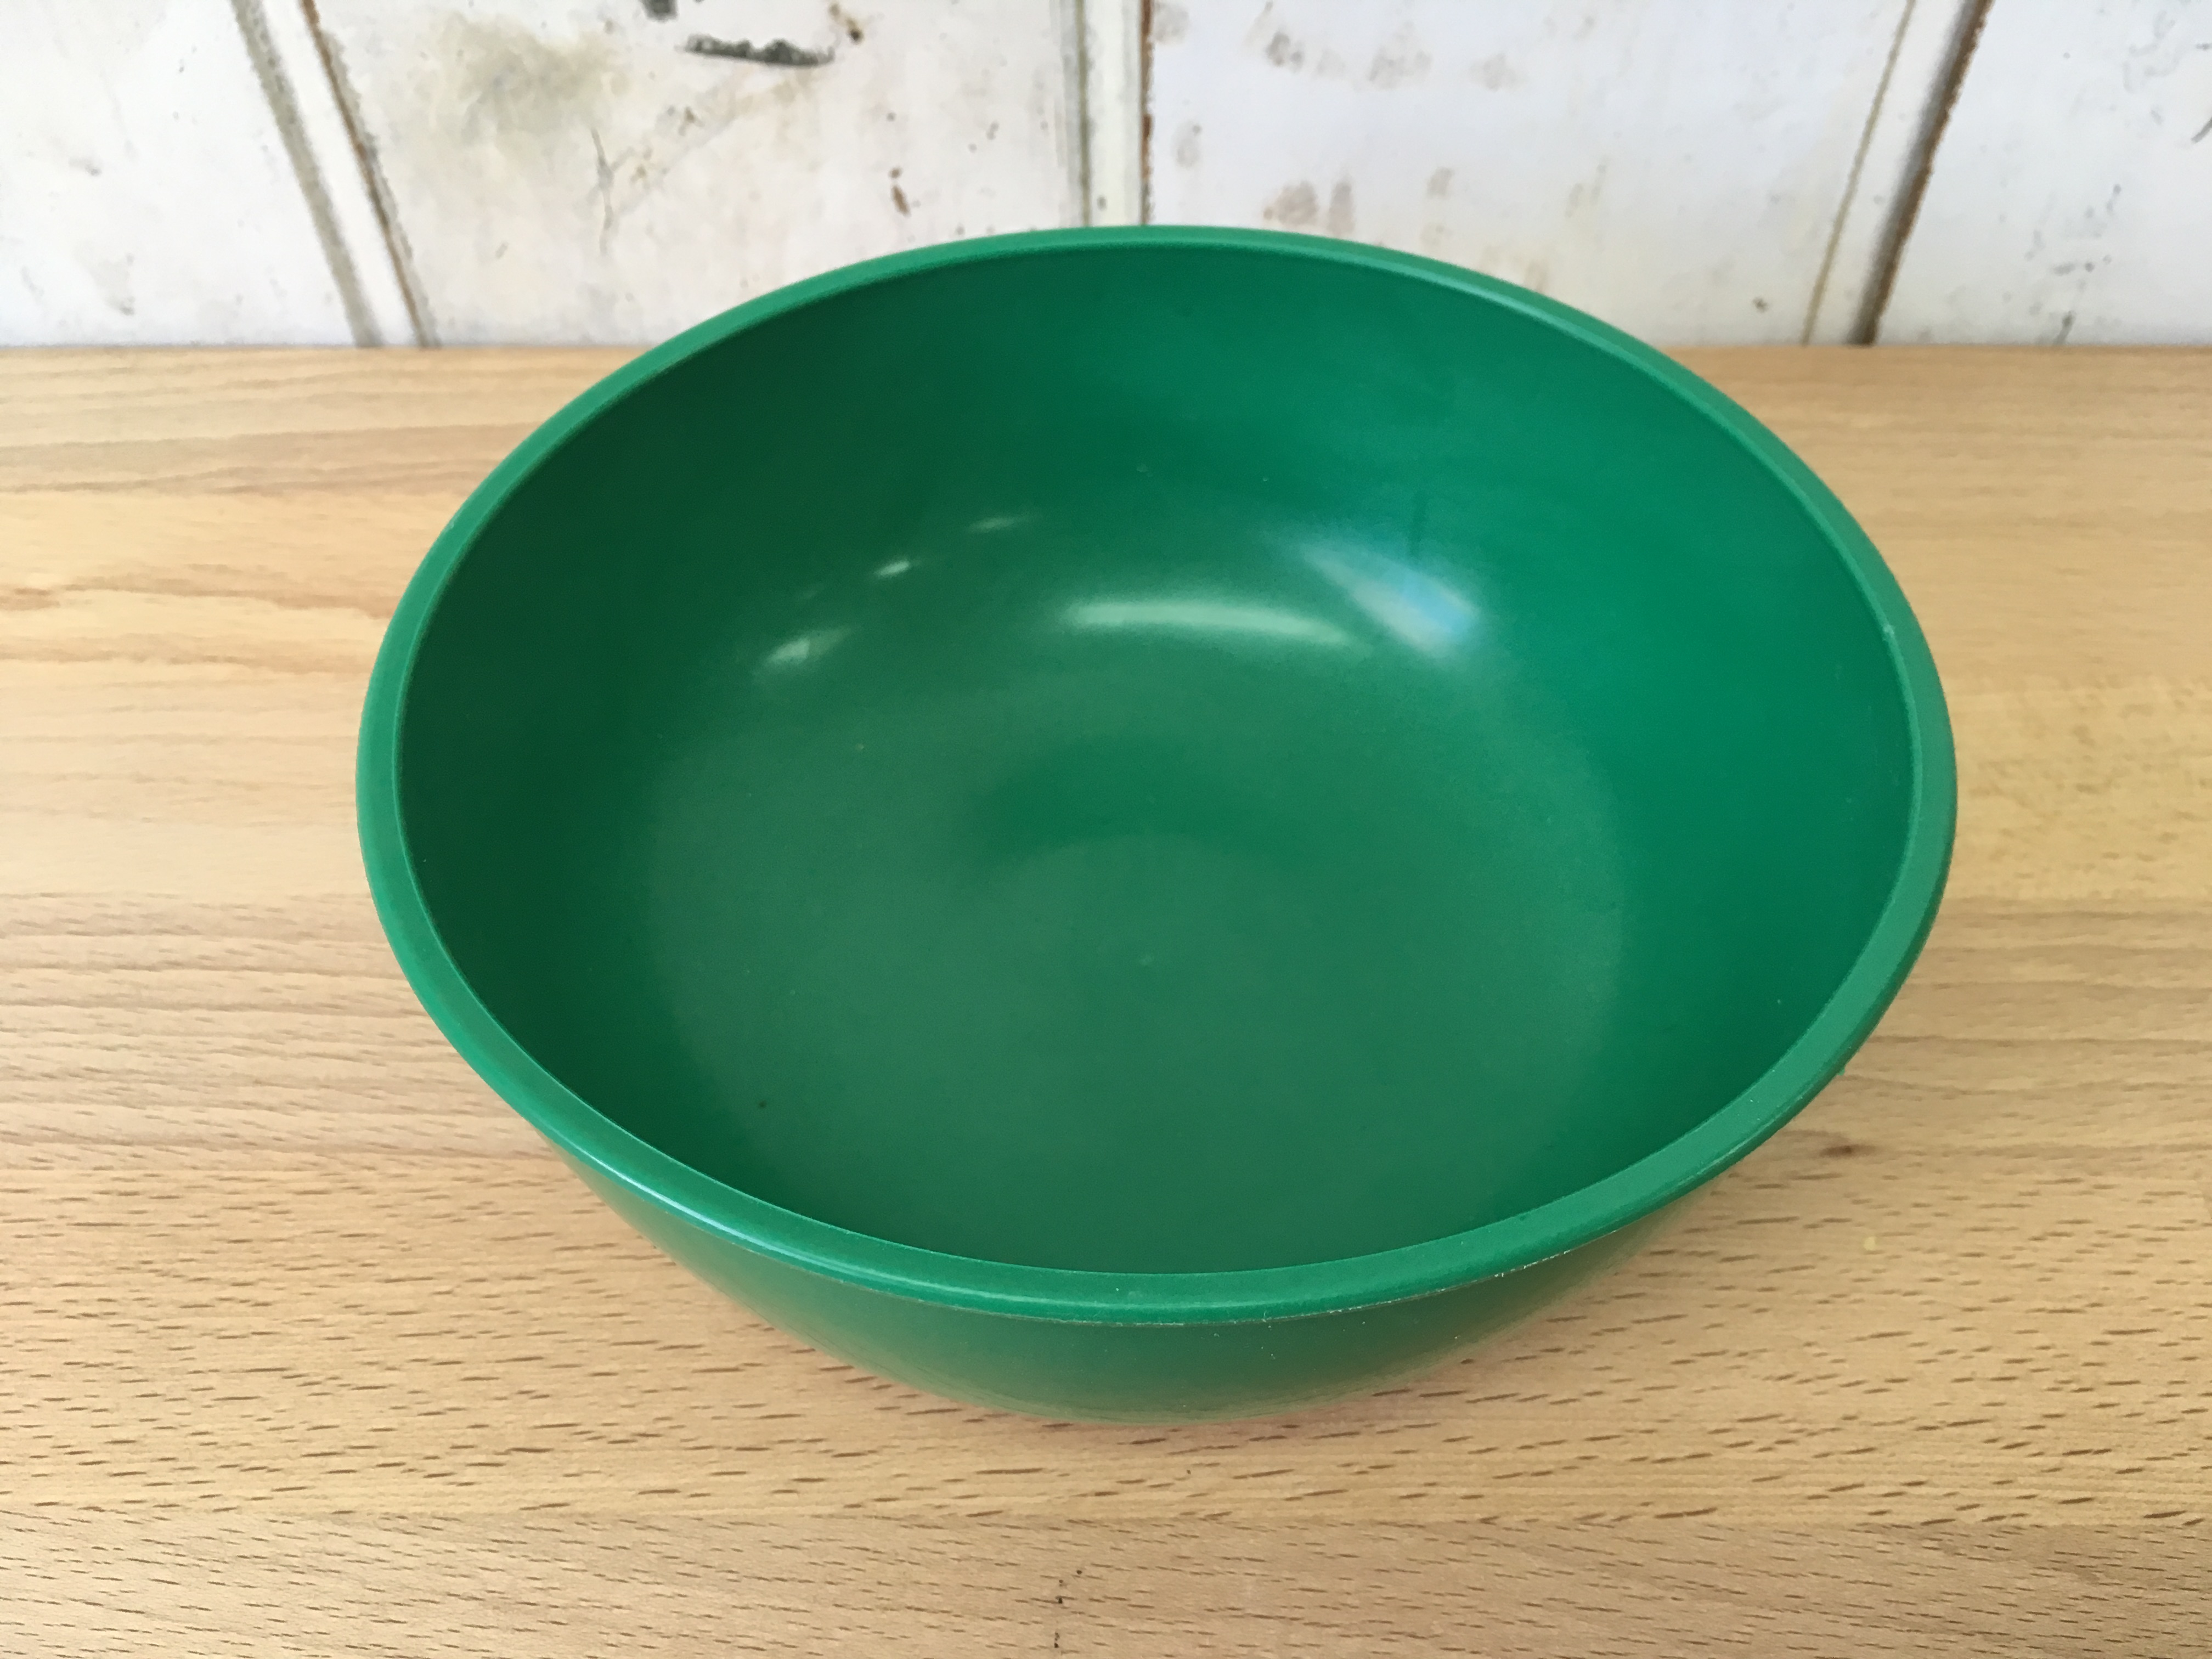 Rubber Bowl
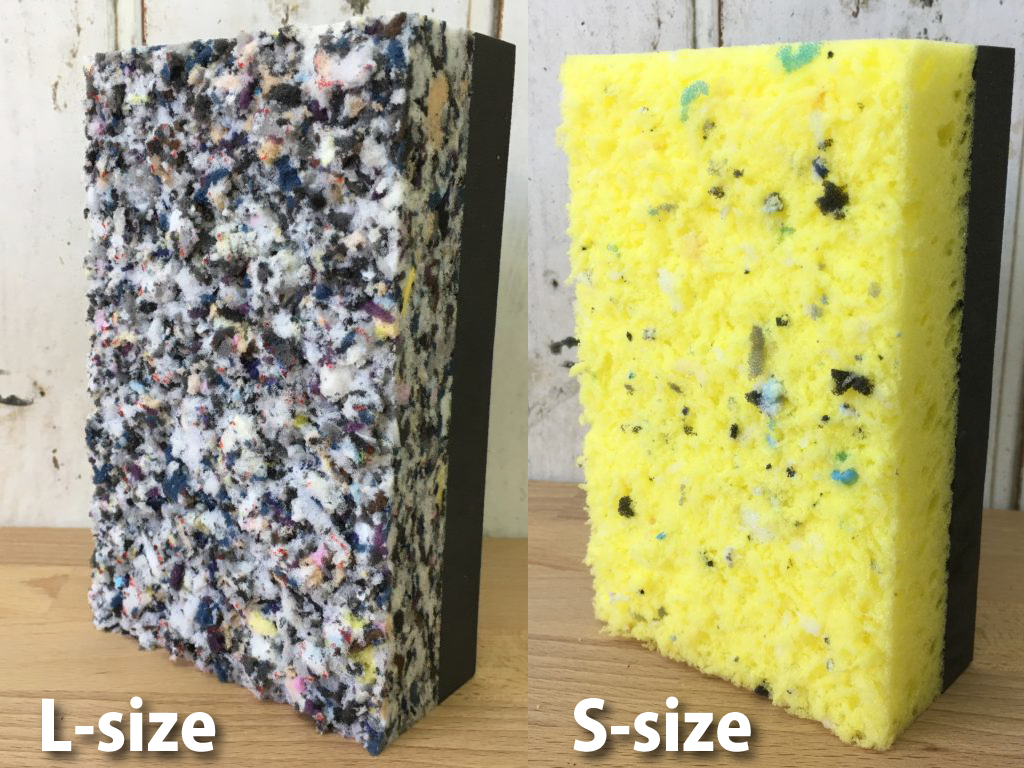 Pattern Pad (Large / Small)
 Wagner Flexio 570 Electric Spray Gun